All posts by Sam Fisher

RetroArch – Convert PlayStation 1 BIN/CUE to CHD

Update 6/3/2021: Google Search Console tells me this page is getting popular lately. While I originally wrote this with PSX games in mind, you can apply it to most other CD based consoles. I’ve also converted Sega CD, Sega Saturn and Turbo Duo CD games from BIN/CUE to CHD for use in RetroArch.

The Redump set for PlayStation 1 USA is about 385GB (just the games, no demo/samplers etc) 512GB in 7zip format; 7zip is not supported by the Beetle PSX core so when I originally added the PSX library to my Launchbox/RetroArch setup I just extracted every game. This took up a significant portion of the 1TB drive I was using to store all ROMs; additionally Redump uses separate BIN files for every track on the CD so a single game would have multiple BIN files plus the CUE. I found by accident an old Reddit post where I learned that you can compress BIN/CUE into Mame’s CHD format which is supported by the Beetle PSX core; the result is you will have a single compressed file for each PSX game that is comparable to the original 7zip in size and directly playable.

To do this conversion you need chdman.exe which can be found inside the MAME Official Windows Binary packages located heremame0201b_64bit.exe was the latest release when I did the conversion.

Extract chdman.exe from mame0201b_64bit.exe into the same folder as your PSX BIN/CUE files. Then you can just run one command to convert everything to CHD:

Expect this to run for a long time; on the Redump set, this conversion took about 1.5 days on an i7-4770K and a 2.5″ 1TB Seagate FireCuda hybrid drive. You should also have free space equal to at least 1.5x the size of the Redump set before running the command Just make sure you have plenty of free disk space as this process will create new CHD files in addition to all the BIN/CUE files.

Retrogaming with RetroArch and LaunchBox

For the last couple of years I’ve been doing my retrogaming with a combination EmulationStation and RetroArch. At first I was using a Zotac mini PC for the hardware and Lubuntu for the OS; at the time I also used this PC to play movies using Kodi. Looking back I’m not sure how that PC was able to emulate anything at full speed but I remember games running pretty well. EmulationStation on the other hand took forever to scrape metadata especially with the complete ROM sets for most systems. Eventually the Zotac was replaced by an Intel Skull Canyon NUC running Ubuntu. The NUC worked a million times better than the Zotac but with Retroarch on Ubuntu it seemed like configs were broken every time I ran apt-get update. I decided it was time to do a new setup for emulation; with a combination of new and old parts I was able to build another PC with the following specs:

  • Intel Core i7-4770K
  • Noctua NH-L9I CPU Fan
  • AsRock B85M-ITX
  • 16GB Crucial Ballistix Sport VLP DDR3-1600
  • 500GB Samsung 840 EVO
  • 1TB Seagate Firecuda
  • Gigabyte Radeon R9 Nano
  • Fractal Design Node 202
  • 600 Watt Corsair SF600 SFX Power Supply
  • 2x Noctua 120mm NF-S12A Case Fans

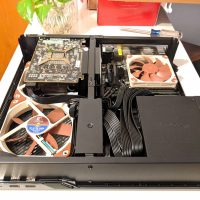
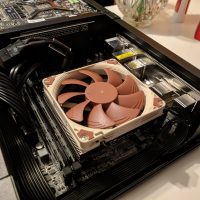
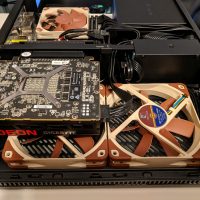
The Node 202 is a compact ITX case which made cable management fairly challenging but I think I managed to pull off a decent job:

For this new build I used Windows 10 for the OS and replaced EmulationStation front-end with LaunchBox. It has an alternate mode similar to Steam’s Big Picture Mode that’s perfect for gaming on a big screen TV:

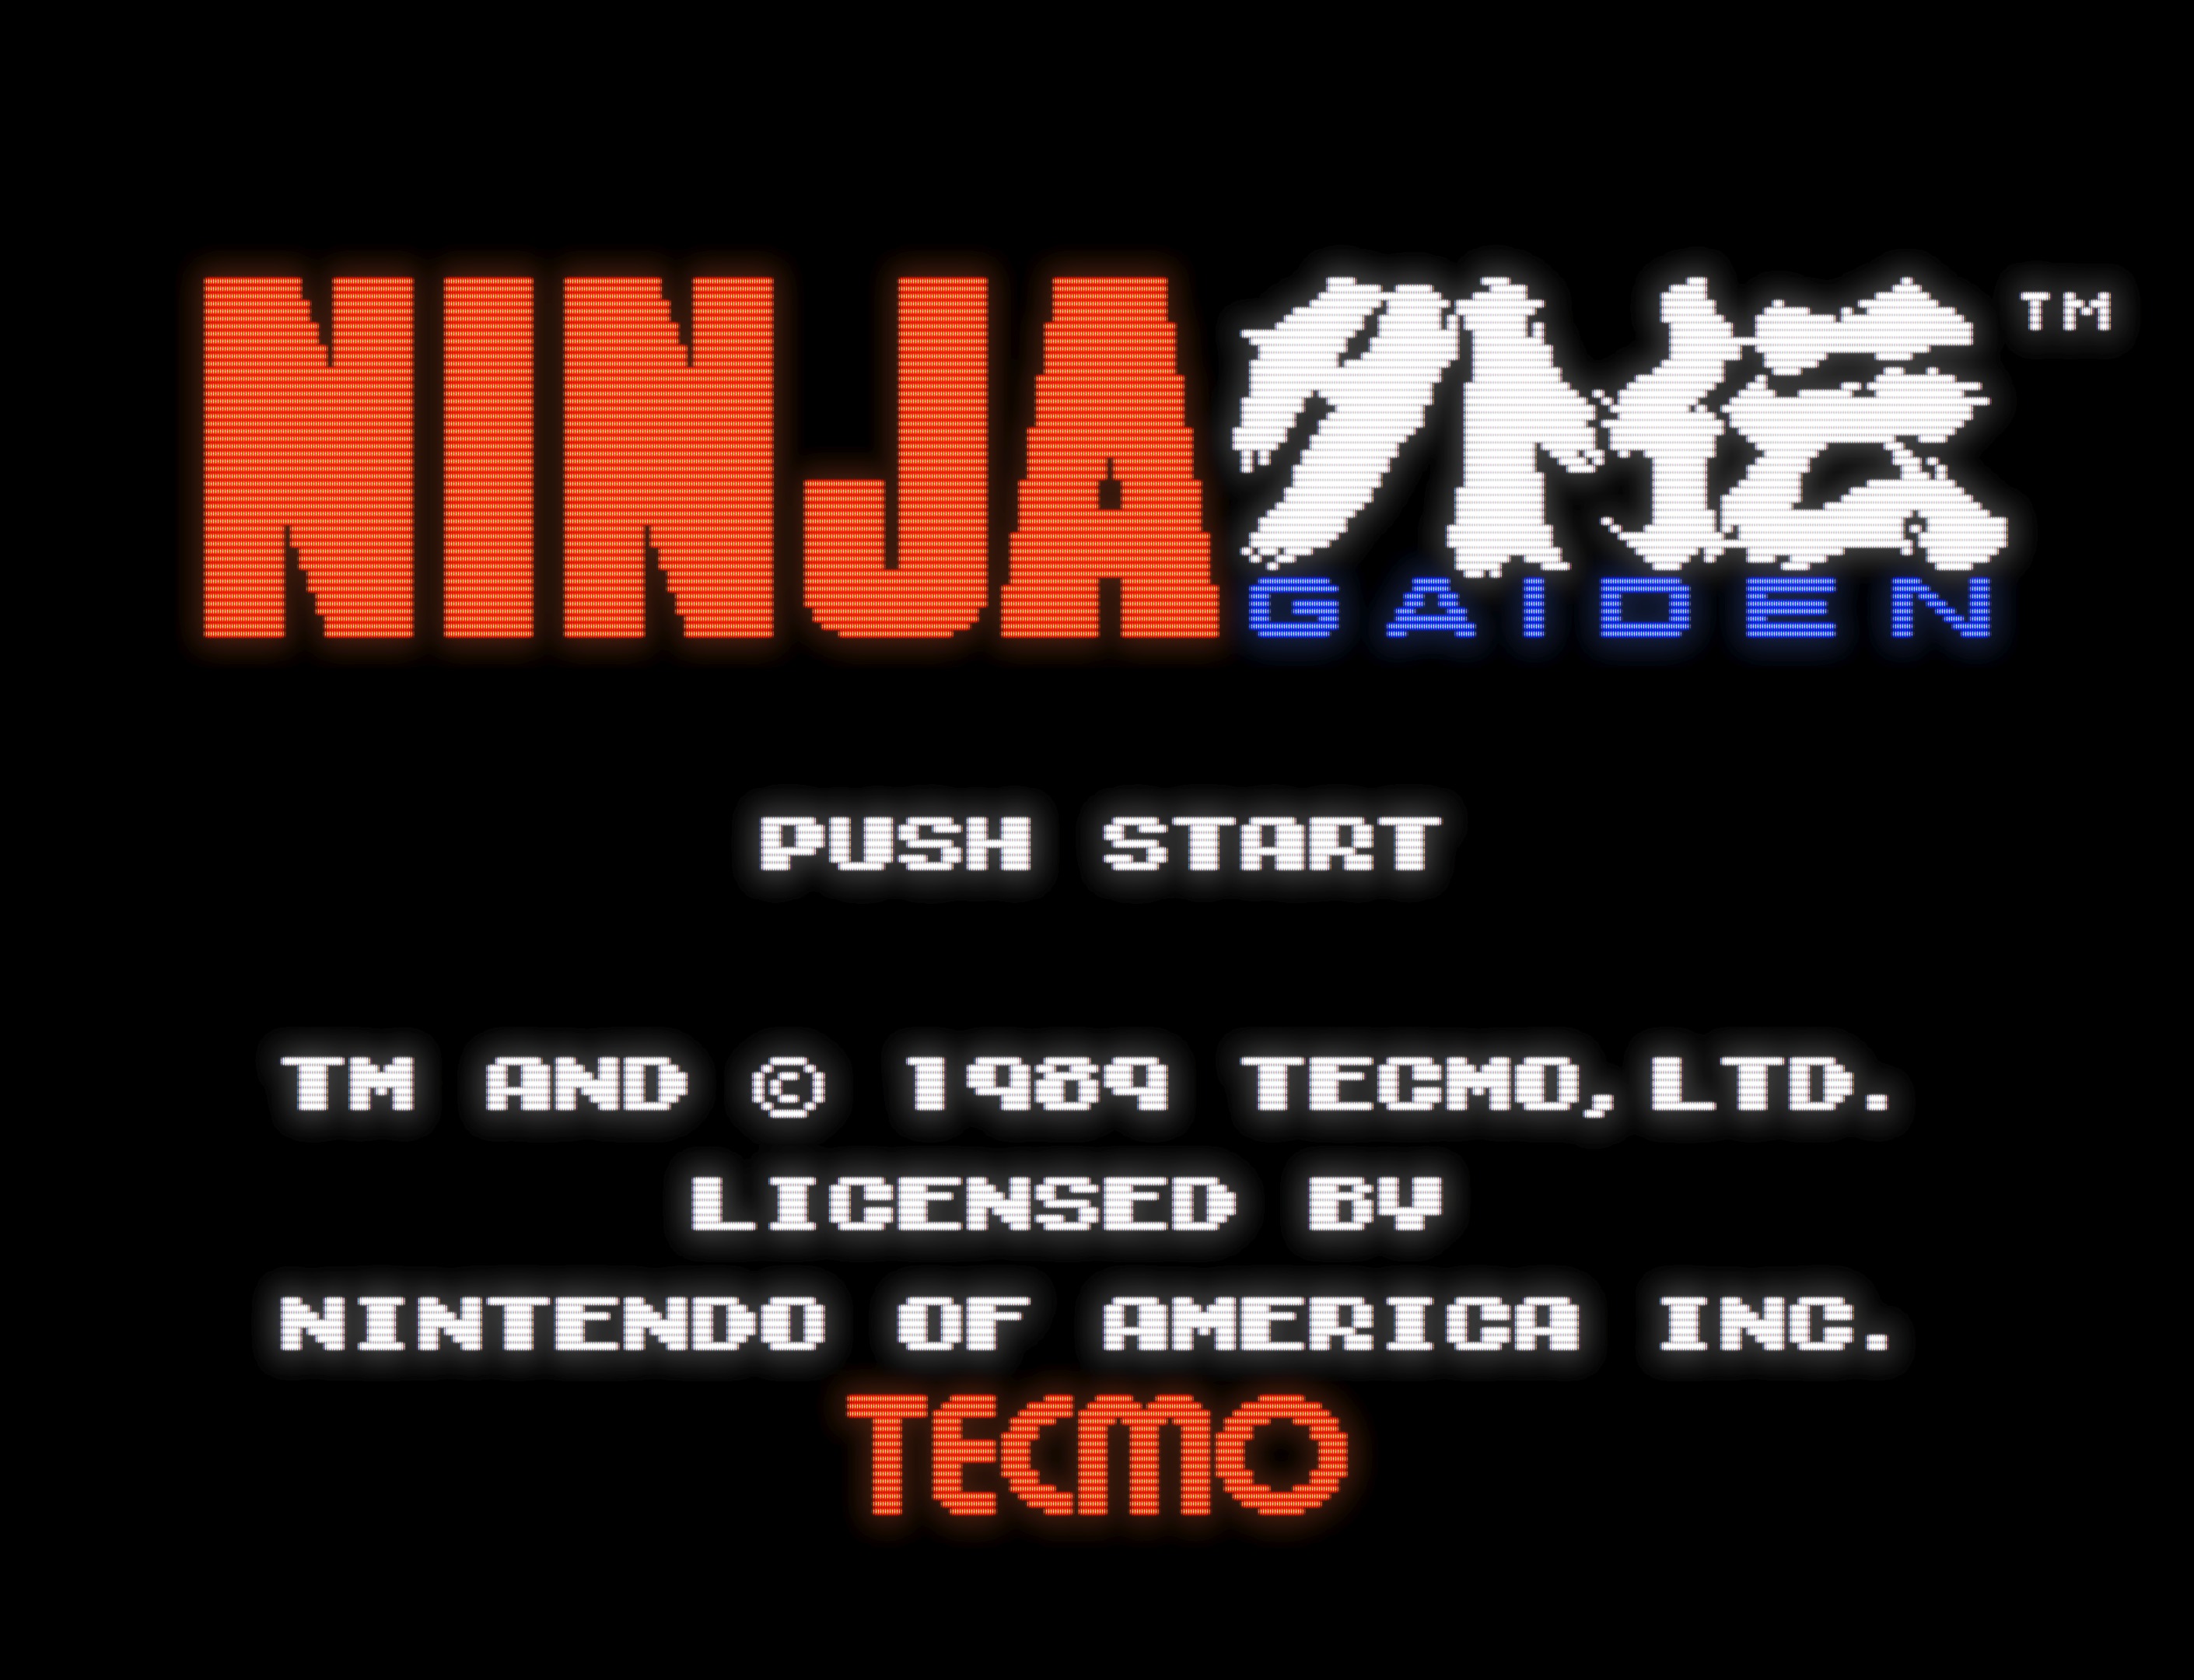
As you can see from the video, you get a short intro for each platform and gameplay footage per game if you have an EmuMovies account enabled for scraping. If EmuMovies doesn’t have gameplay footage then LaunchBox will usually at least display a screenshot of the game’s title screen. LaunchBox is a big step up from EmulationStation aesthetically; it’s also a big step up for storage requirements. I have the No-Intro ROM sets for the following systems: NES, SNES, N64, Game Boy, Game Boy Color, Game Boy Advance, Master System, Genesis, 32X, Game Gear and TurboGrafx 16. On top of this I have the complete ROM set for FBA 0.2.97.43 and the USA Redump PSX collection. With these platforms scraped in LaunchBox, the folder size weighs in at 152.4GB:
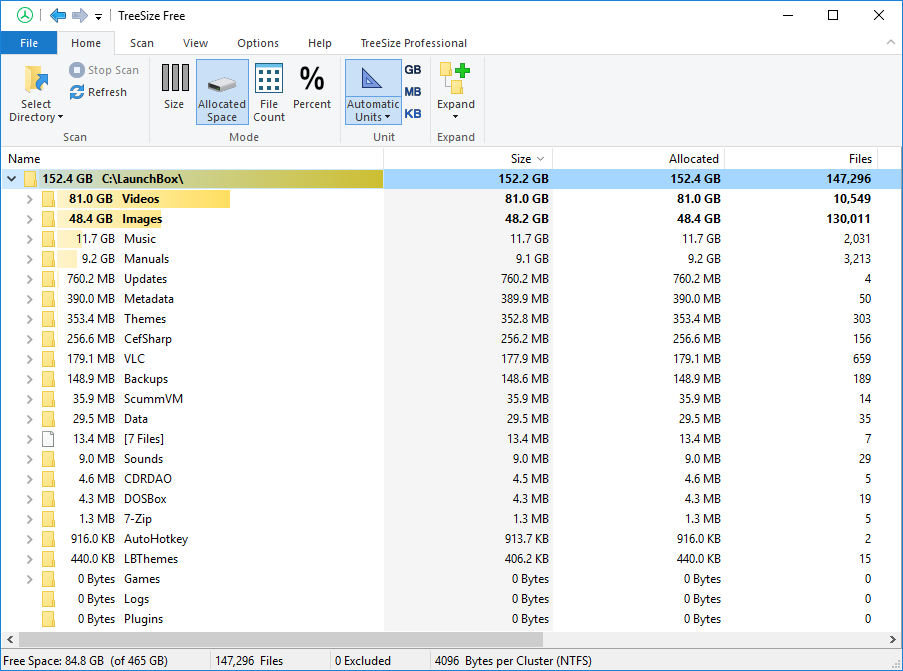
It should be no surprise Video is the largest subfolder at 81GB followed by Images at 48.4GB; I scraped my ROM collection with the default settings in LaunchBox so it’s possible to get a slimmer install by leaving out game manuals and other types of images like front/back box art, cartridge art, screenshots, etc.

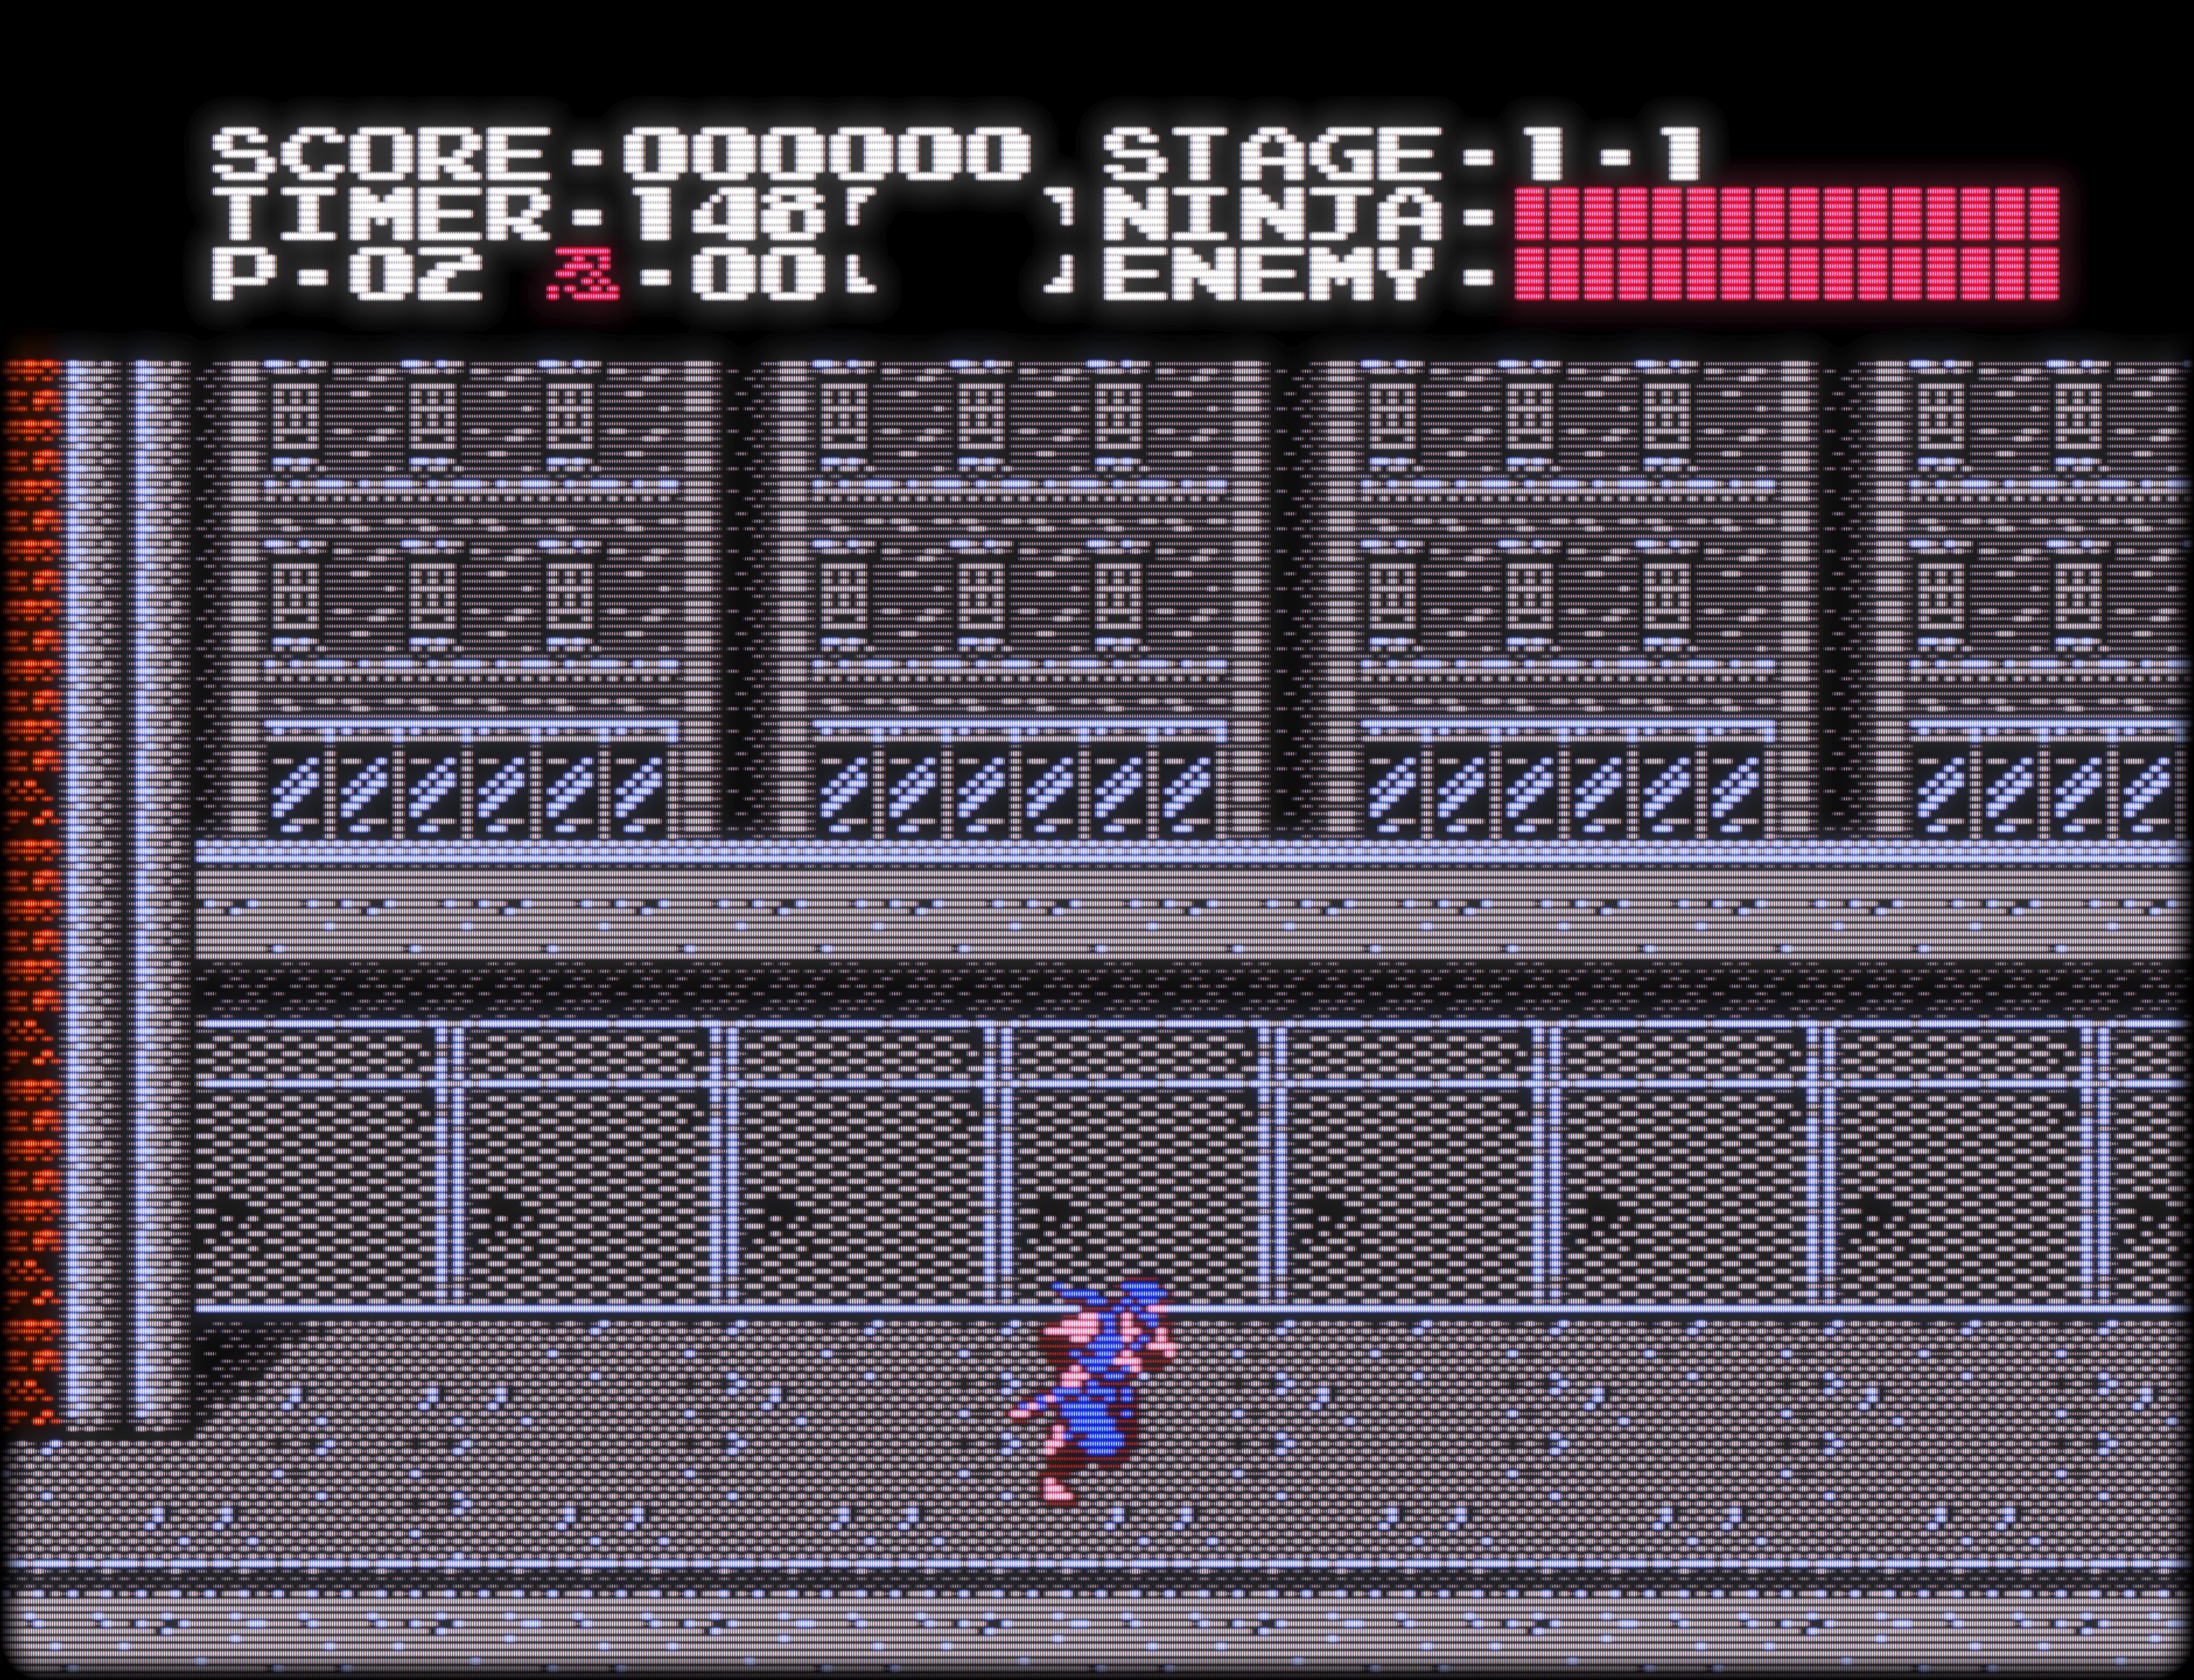
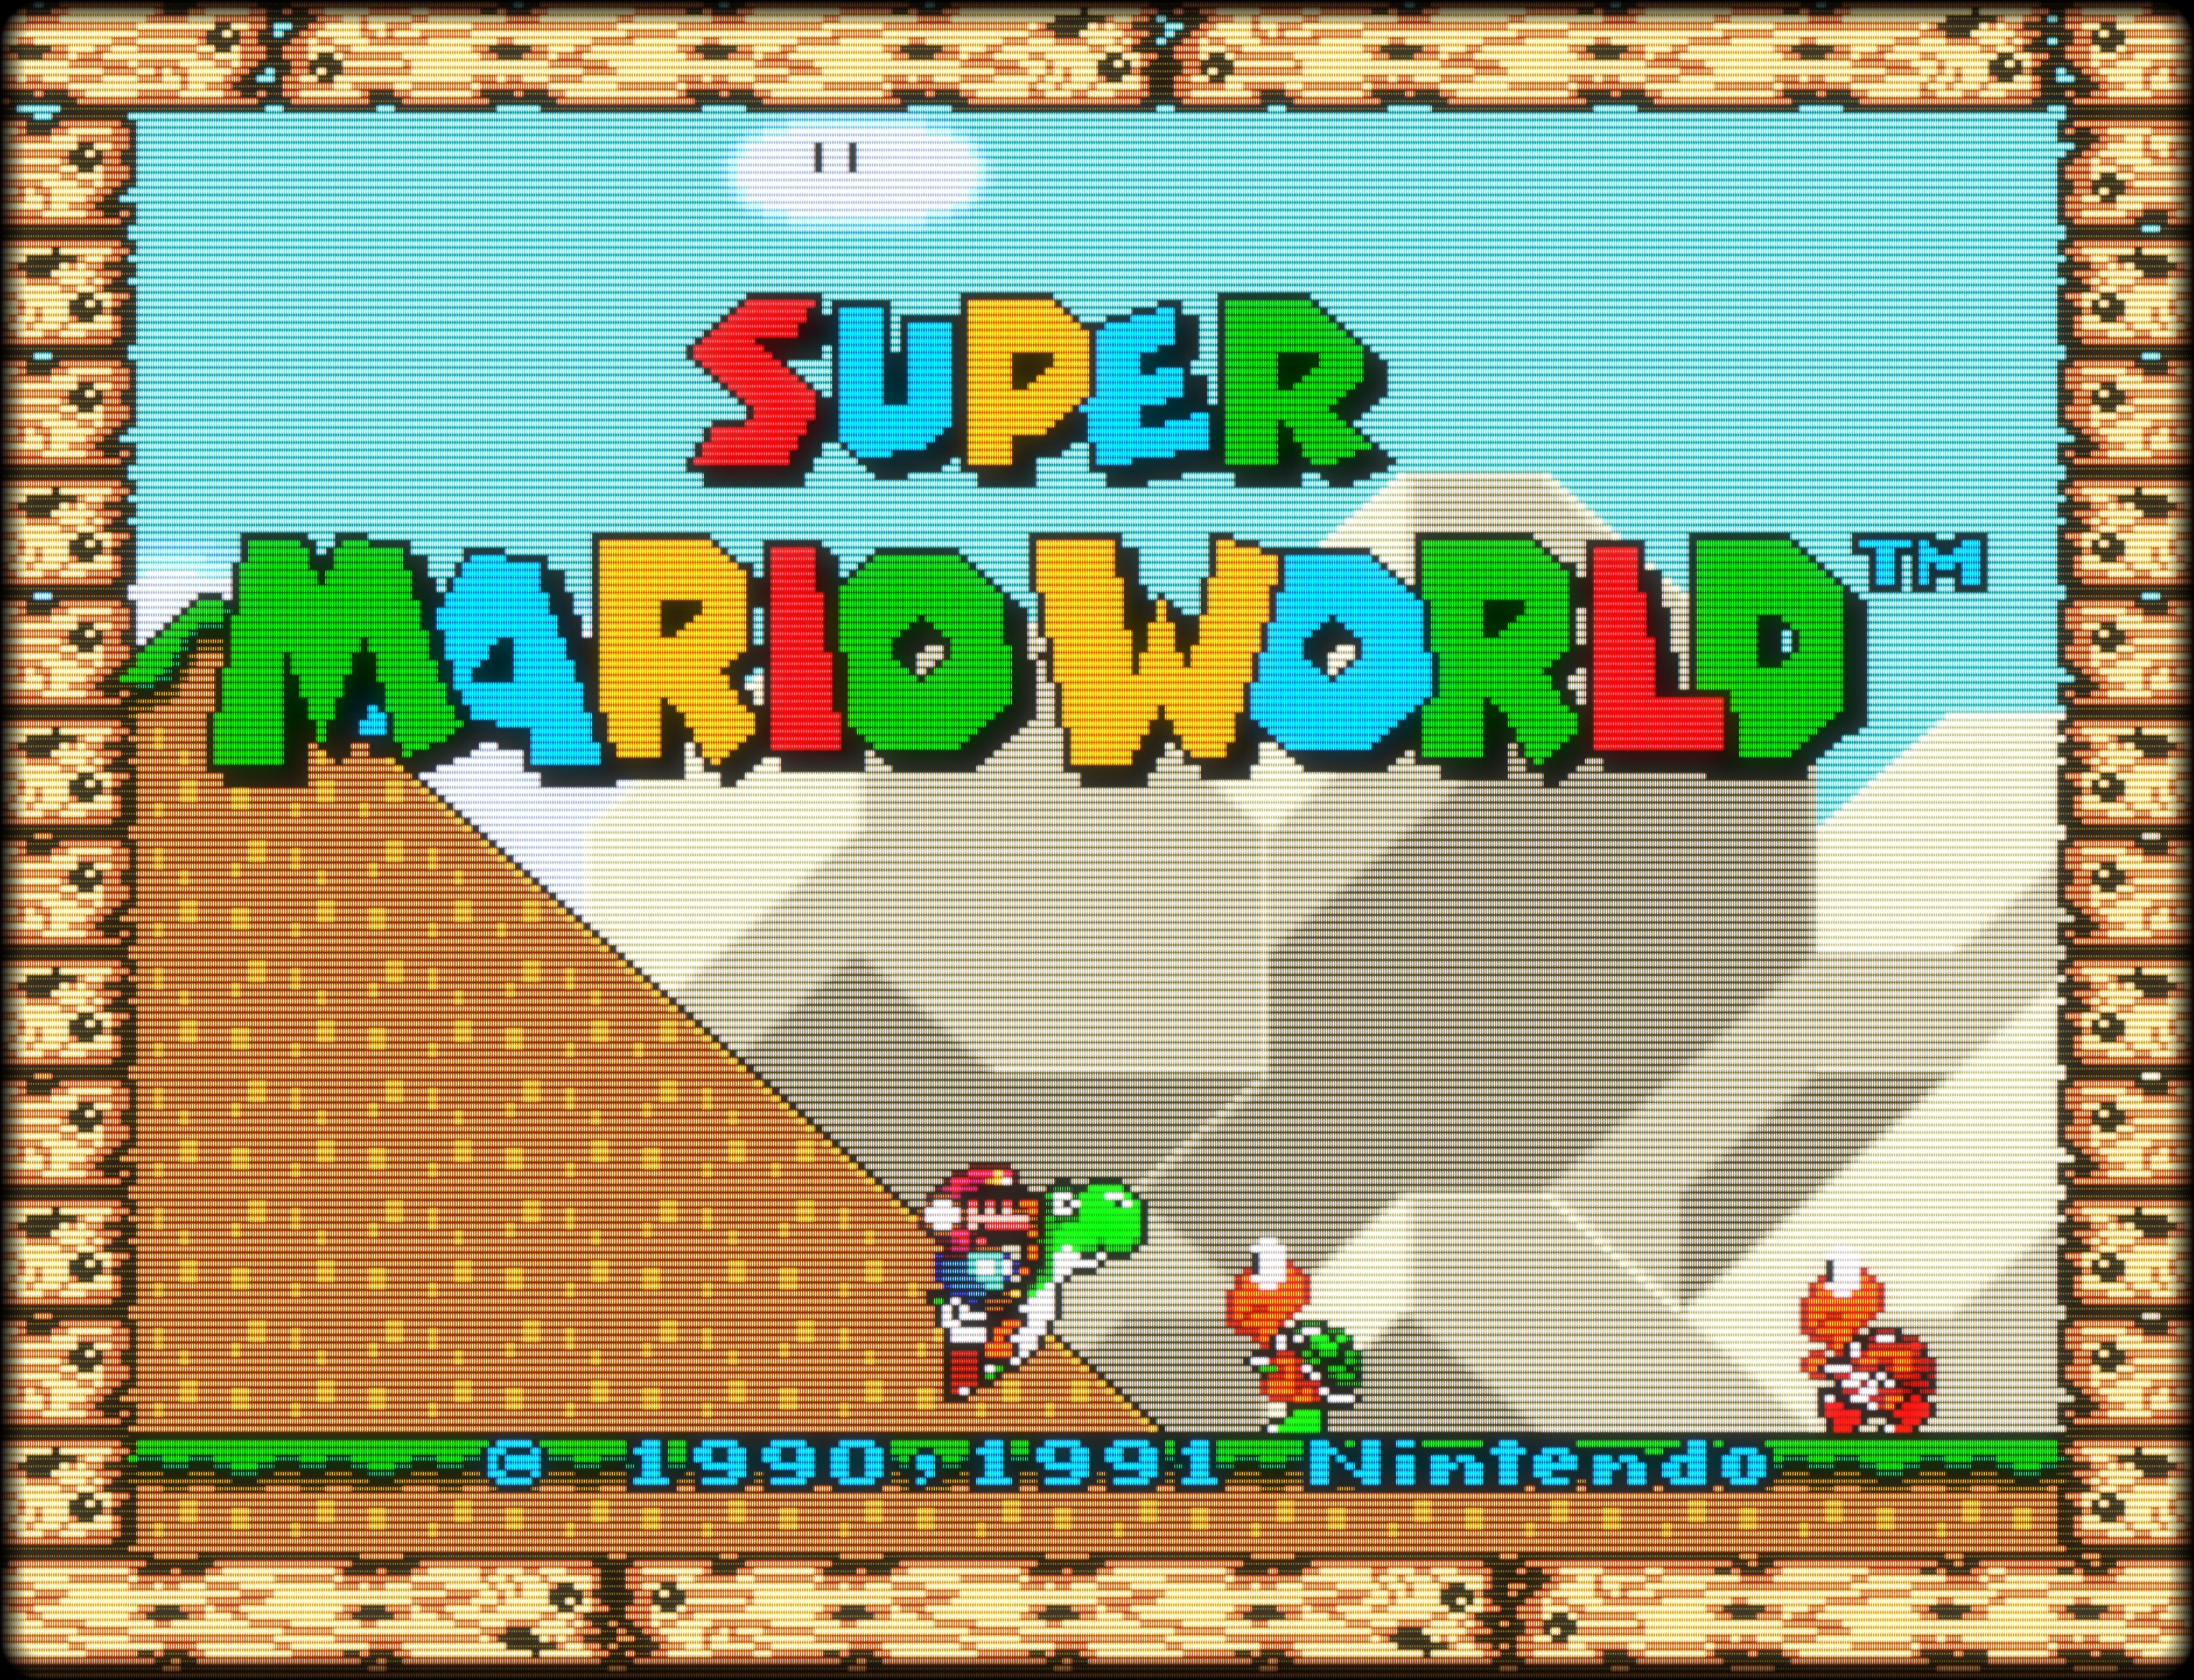
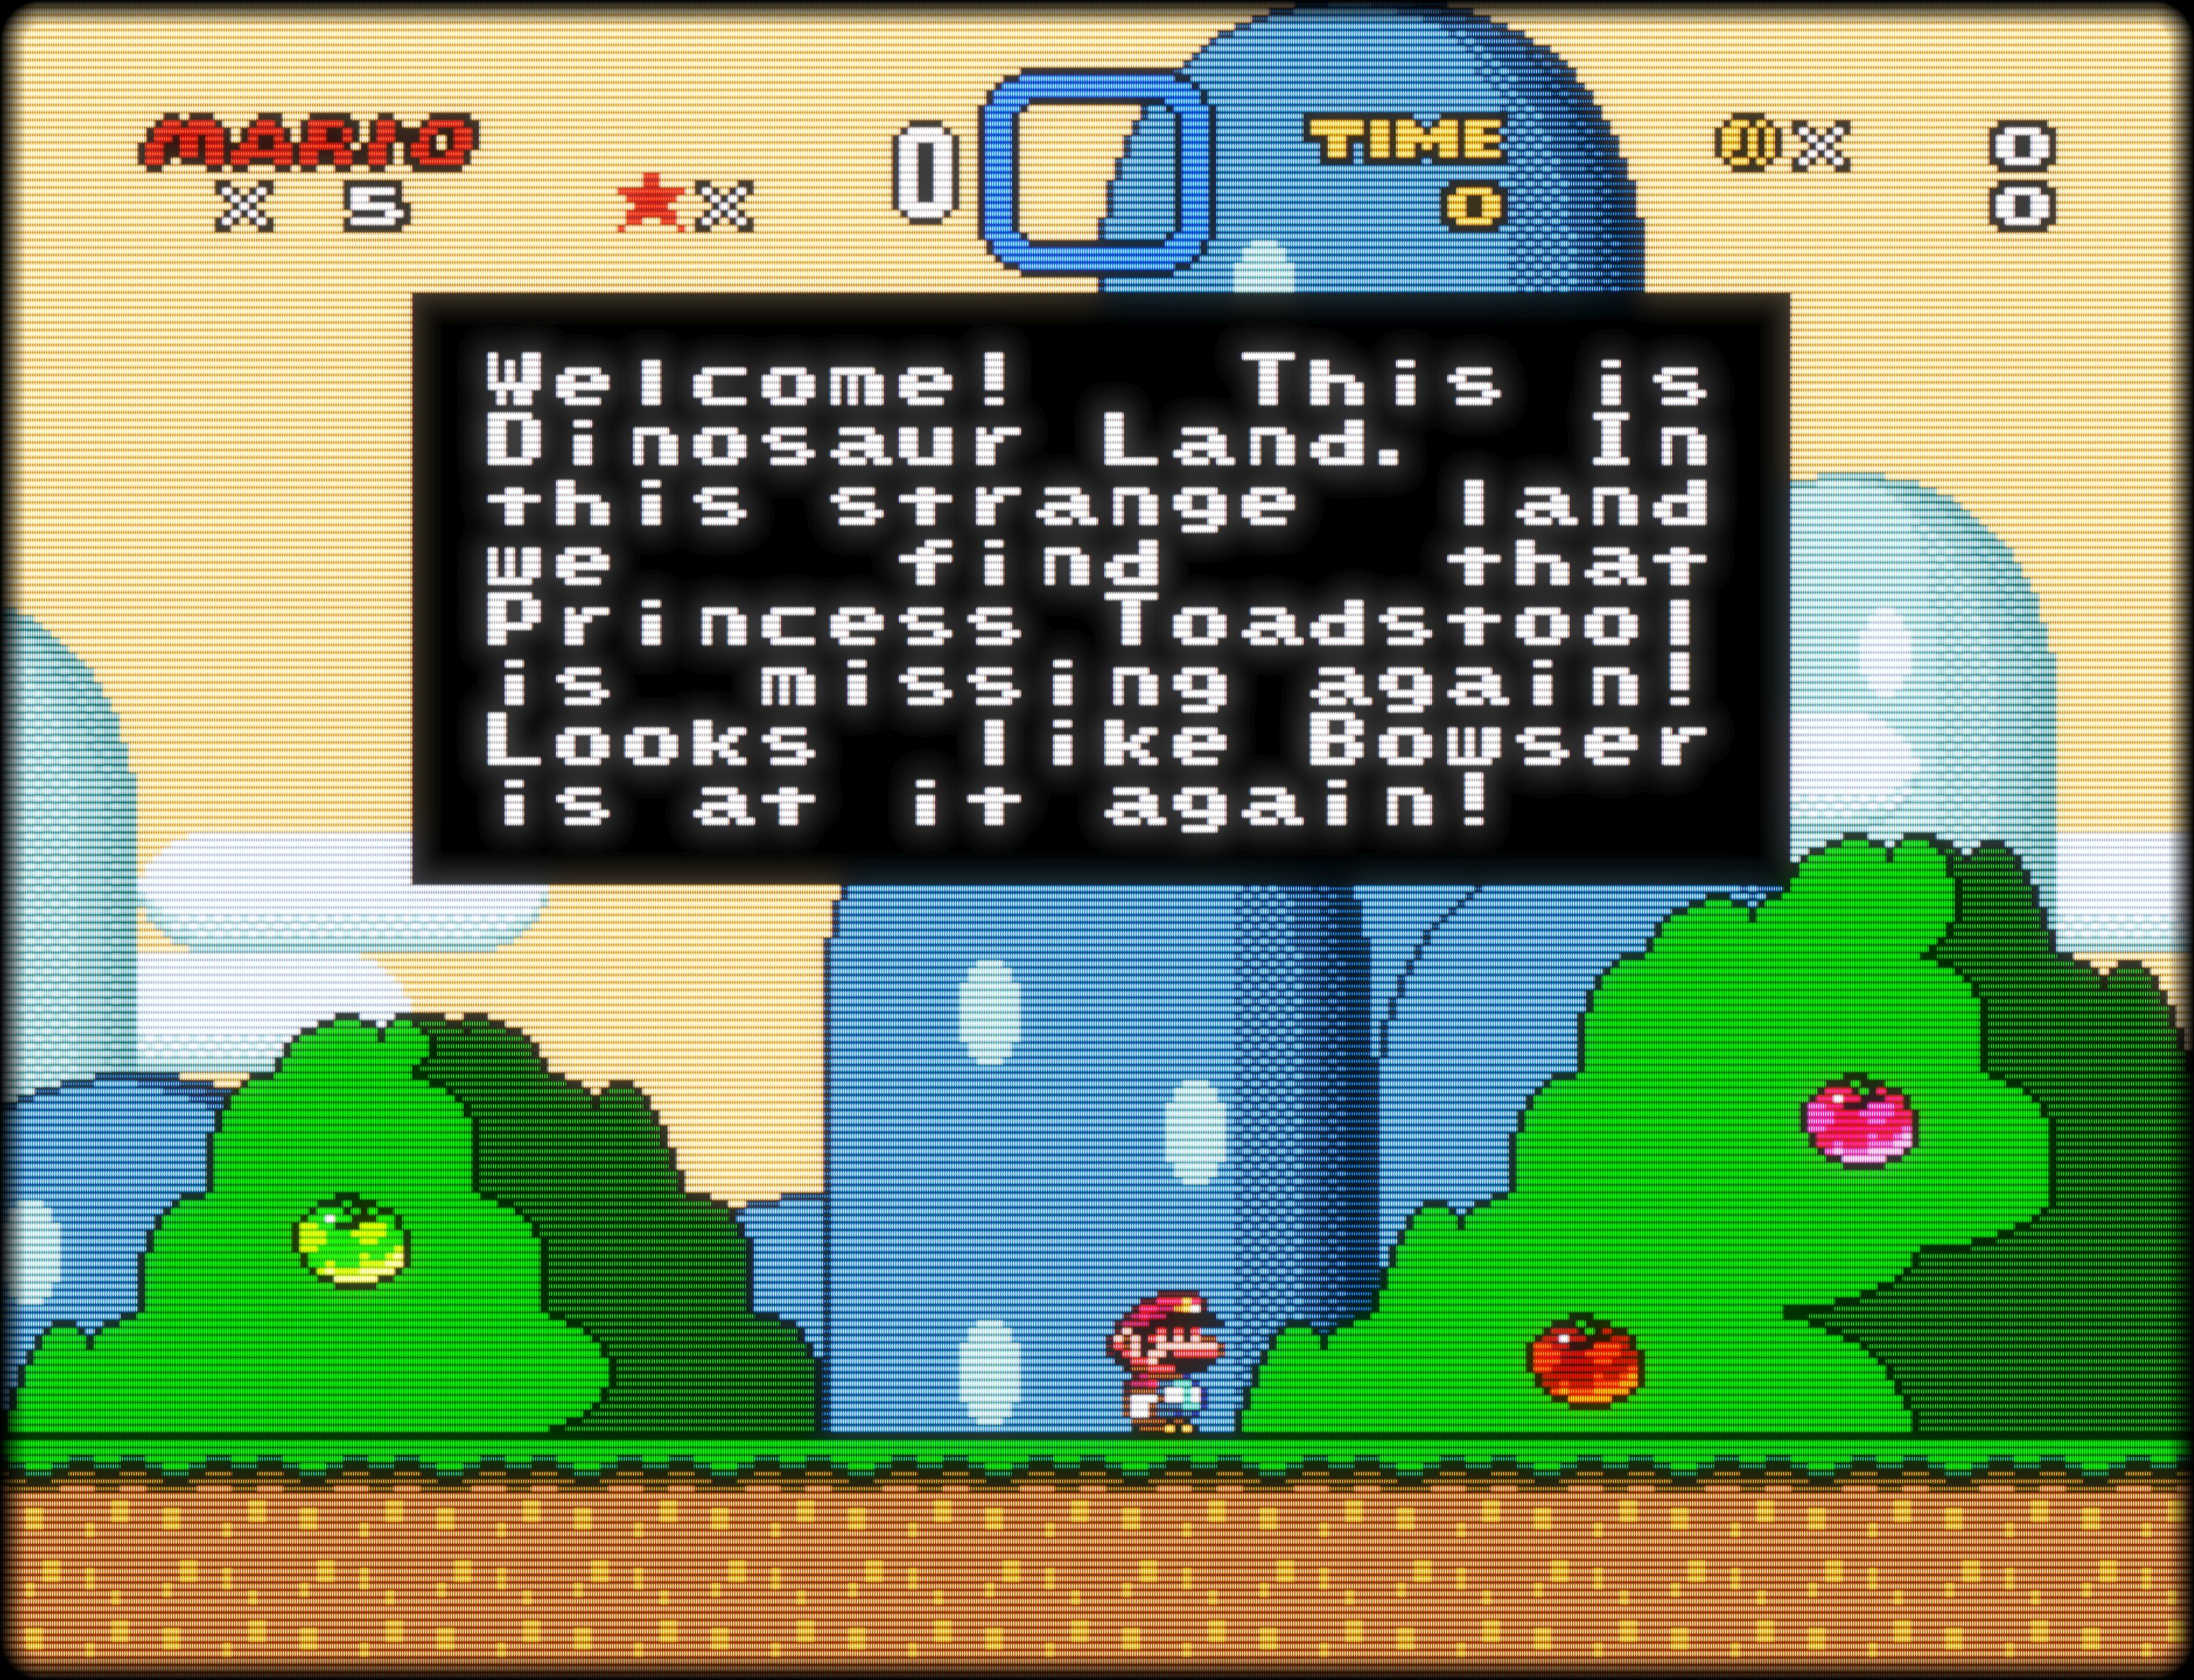
The 4770K and R9 Nano are a few years old at this point but are more than enough to handle RetroArch at 4K. The best part of this new build is I can use shader presets that brought my NUC to a crawl. My favorite shader so far is CRT-Royale – an advanced shader preset designed to recreate the look of a CRT monitor. You can see from the screenshots below it even recreates soft glow around sprites against a black background:

For controllers, I have the 8BitDo SN30 Pro and SF30 Pro, Xbox Wireless Controllers, and Qanba Q4 RAF arcade sticks. Both the 8BitDo and Xbox controllers are paired via Plugable’s USB Bluetooth 4.0 Adapter. The adapter is supported out of the box with Windows 10 and pairing the controllers was easy. I set my input driver in RetroArch to dinput which makes every controller show up as generic “Bluetooth XINPUT compatible input device”; the advantage here is I can pick up any of the Xbox or 8BitDo controllers and start playing. My default config in RetroArch uses Bluetooth controllers while I have a separate config for the FB Alpha core so the sticks are used for Arcade games. If you use mixed controllers, I recommend using devreorder – it’s a program that allows you to define the order in which controllers are enumerated in Windows. I have it set so the Qanba sticks are first, followed by the Bluetooth controllers. This way RetroArch will always see the sticks and controllers in the same order; without it my sticks would stop working if one of the Bluetooth controllers shut off from idle (when the controller shuts off, RetroArch would enumerate input devices again and my stick would no longer be assigned to Player 1).

If you want to set up LaunchBox and RetroArch for yourself, I recommend getting RetroArch working first as LaunchBox is just a front-end that will launch RetroArch with the game you choose. There’s a decent guide for setting up RetroArch from Lifehacker here and the Youtube channel for LaunchBox has a good video on setting up both RetroArch and LaunchBox. The Lifehacker guide doesn’t mention which RetroArch cores to use so I recommend you try out the following:

  • Nestopia UE (NES)
  • bsnes mercury Accuracy (SNES)
  • Mupen64Plus (N64)
  • Gambatte (Game Boy/Game Boy Color)
  • mGBA (Game Boy Advance)
  • Genesis Plus GX (Master System, Genesis, and Game Gear)
  • PicoDrive (32X)
  • Beetle SGX (TurboGrafx 16/PC Engine SuperGrafx)
  • Beetle PSX (Playstation 1)
  • FB Alpha (Arcade)

Most of these cores are the defaults shown in the setup video from LaunchBox. FB Alpha doesn’t emulate every Arcade game like MAME does but covers most of the ones I care about like Capcom CPS and Neo Geo games. I prefer using FB Alpha over MAME because the MAME cores require additional setup for controller inputs; the whole point of using RetroArch is to have a unified interface and set up your configuration once.

Pi-hole – Dnsmasq Not Starting Automatically (Ubuntu 16.04)

Pi-hole is a DNS sinkhole designed to block ads at the network level by acting as your DNS server; it’s like using AdBlock for every device on your network. It’s especially useful for iOS and Android devices since Pi-hole can block ads in both the browser and apps.

Installation on my Ubuntu 16.04 box was dead simple:

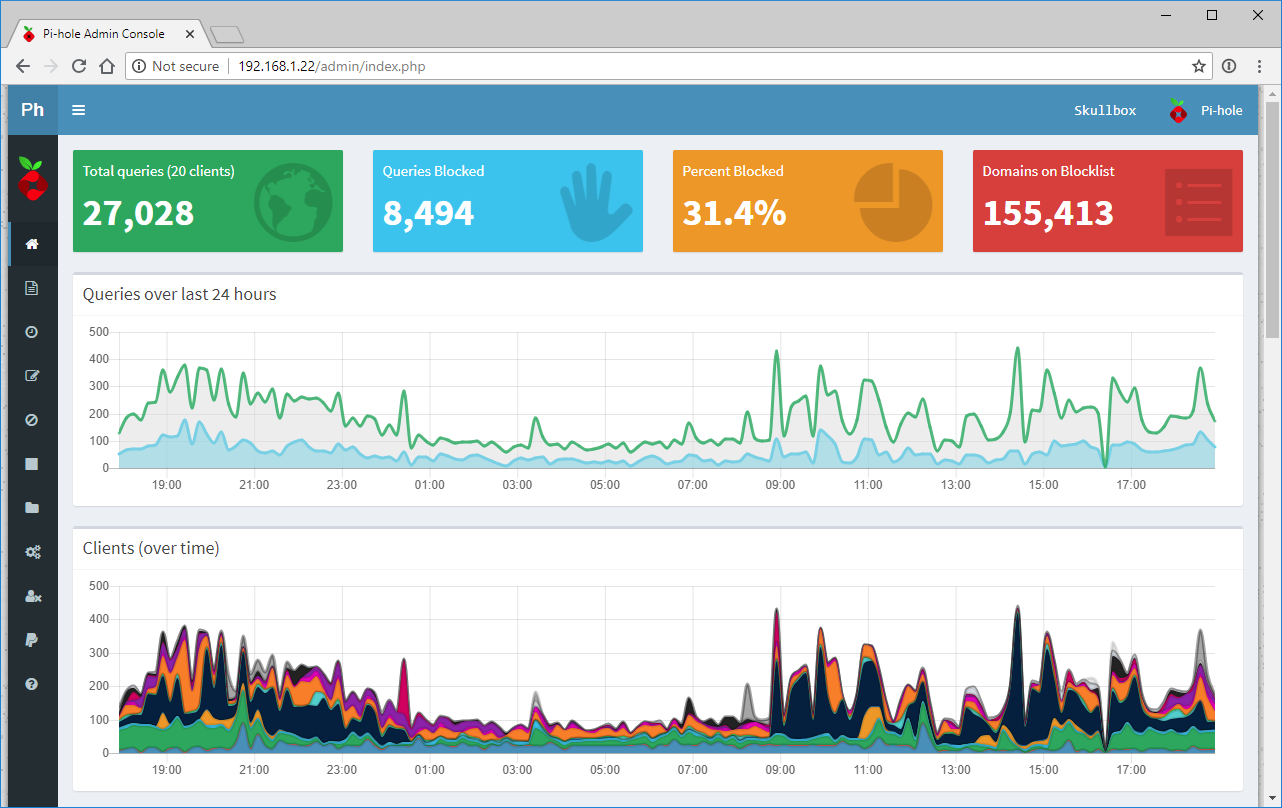
After running it for almost a week, I accumulated the following stats below; it’s amazing how many requests were blocked since I’m already using uBlock in Chrome.

After rebooting the system Pi-hole was running on, I noticed the DNS resolution was broken because the dnsmasq service was not running:

Apparently there is a bug in Ubuntu 16.04 with the dnsmasq service trying to start before network interface is up. Thanks to this, I was able to fix it by adding the highlighted lines below to the [Unit] section of /lib/systemd/system/dnsmasq.service:

Sega Dreamcast – GDEMU and Noctua Fan Mods

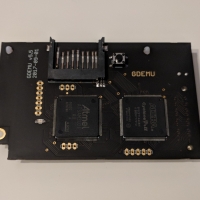
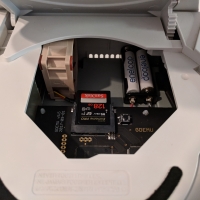
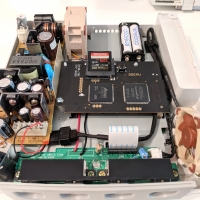
Recently I managed to get my hands on the GDEMU – an SD card reader that takes the place of the Sega Dreamcast’s optical drive. With it you can place multiple Dreamcast game images on an SD card and load whatever game you want from a simple menu system named GDmenu. I set mine up with a SanDisk Extreme Pro 128GB SDXC and was able to fit all the games I cared about. The best part is you can play 1:1 dumps of Dreamcast games instead of burning rips to CD-Rs or scouring eBay for original discs. There is a noticeable decrease in loading times as well since there are no moving parts.

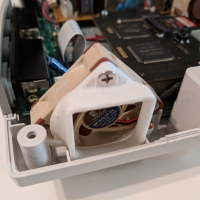
In addition to the GDEMU upgrade, I also replaced the original 30mm Dreamcast fan with a 40mm Noctua NF-A4x10 5V using a 3D printed mounting kit I bought off eBay (listing is gone but you can find the files for the kit here).  Supposedly the Dreamcast runs hotter with the GDEMU because the GDEMU doesn’t use the 12v rail on the PSU which causes it to spike in voltage thus creating extra heat. There are some guides on the internet for either adding a resistor to load the 12v rail or removing the regulator for 12v entirely. I decided it was simpler to add a 12v fan for load and provide additional cooling to the PSU; I put a 40mm Noctua NF-A4x20 FLX in the back blowing into the PSU. Even with 2 fans, this entire setup is nearly silent compared to a stock Dreamcast.

8Bitdo SF30 Pro and SN30 Pro Controllers

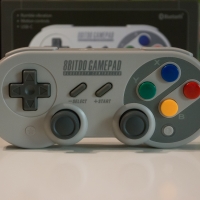
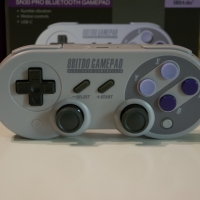
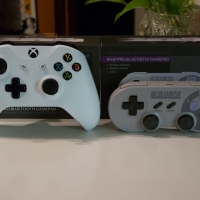
I’ve been working on a new emulator build using Windows, Launchbox, and Retroarch. For my controllers I’ve always used Qanba Q4RAF sticks for arcade games and Xbox 360 controllers for consoles. I decided it was time to upgrade the controllers to something newer so I decided to pick up the 8Bitdo SF30 Pro and SN30 Pro Controllers. They’re basically replicas of the old SNES controller in both the Super Nintendo (SN30 Pro) and Super Famicom (SF30 Pro) colors. You can find plenty of in-depth reviews of these controllers on YouTube or Google; overall I’m quite pleased with these controllers for emulation usage.

Some things I noticed:

  • Everyone says to update the firmware out of the box; my SF30 Pro was already v1.25 (newest at the time of this post) but my SN30 Pro was v1.22.
  • The D-Pad on my SN30 Pro feels more worn and isn’t as stiff as my SF30 Pro’s D-Pad.
  • They pair quite easily with Windows 10 over Bluetooth; you can also use them wired (flat style USB-C cable is included)
  • You can pair both the SF30 Pro and SN30 Pro to your Windows PC for multiplayer games; they show up in Windows as “8Bitdo SF30 Pro” and “8Bitdo SN30 Pro” respectively. Not sure what happens if you have 2x SF30 Pros or 2x SN30 Pros since they share the same device name.
  • Works great with RetroArch; shows up as “Bluetooth XINPUT compatible input device”. If you have the SF30 Pro and SN30 Pro paired, then they will appear as “Bluetooth XINPUT compatible input device (#1)” and “Bluetooth XINPUT compatible input device (#2)”.

Windows 10 Search Not Finding Applications

I recently did a clean install of Windows 10 on my primary workstation. After installing most of my apps again, I noticed that the search function in the Start Menu was only finding some of the applications I had installed. Instead of clicking on shortcuts to launch applications, I’ve grown accustomed to using Windows Key to search for the app I want to launch; a habit that stems from my time spent on a Mac using Command-Space bar to search for and launch applications. Not being able to find every app that is installed was very annoying; also puzzling since I had just done a clean install of Windows. In googling this problem, I found different answers regarding rebuilding the index cache, checking the Windows Search service, reinstalling Cortana, or deleting some registry key. I didn’t find a solution until I stumbled onto this Reddit thread – apparently if you disable background apps under Settings > Privacy > Background apps it prevents Windows Search from working correctly.

Funny enough, this answer is in the first result from my Google search above but I didn’t see it until I wrote this post; I just never bothered to scroll down far enough.

Hackintosh – ASRock Z87E-ITX and OS X 10.11 (El Capitan)

I successfully upgraded my Hackintosh to OS X 10.11 and it appears everything is working as expected including audio and Intel SpeedStep. I performed a clean install of El Capitan by using this guide; I was pleasantly surprised to discover that in 10.11 you can restore all of your applications/data/settings from a Time Machine Backup using the Migration Assistant. Initially I had trouble getting the new OS X installation to boot correctly; the Unibeast application used for making the installer has changed to the Clover bootloader. Clover has support for booting in UEFI mode and it seems some ASRock boards have issues booting from it. To fix this I had to create a manual entry for the Clover bootloader in my UEFI Boot menu; it’s not enough to just configure the drive as first boot device in the BIOS. I found the necessary commands thanks to the following guide (under section 4.1).

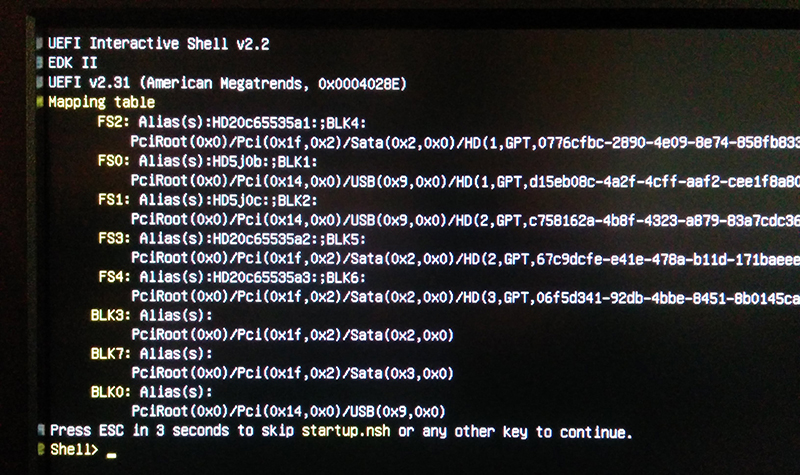
After booting from the Unibeast USB and selecting “Start UEFI Shell 64” you will be greeted by the following screen:

uefi_shell

On this screen we have entries for FS0, FS1, etc. which are the partitions detected; we need to find the one that corresponds to the EFI partition of the drive where OS X was installed. If you look at the strings beginning with “PciRoot (0x0)”, you will see some of them contain “/USB”; you can rule those out since that is the Unibeast USB. For my particular system I found the EFI partition under FS2.

For example, lets enter the partition FS2 and check the contents:

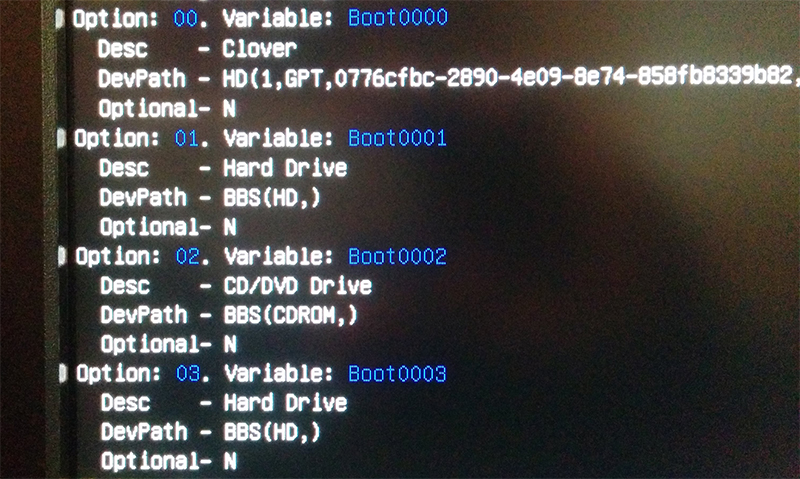
If we see a directory labeled EFI in the ls output, then we’ve found the right partition. Now we get a list of the current boot entries with:

You should get output similar to the screen below; this is from my Hackintosh after I already added Clover to the UEFI Boot menu.

bcfg_boot_dump

Use the following commands to add Clover to the ASRock UEFI Boot menu:

After going back into the BIOS, you can change your first boot device to Clover and OS X should boot normally.

Sega Dreamcast Battery Mod with Panasonic Eneloops

After modding my Sega Saturn to use AA Panasonic Eneloops, I found a guide where someone modded their Dreamcast with rechargeable AAA batteries. The Dreamcast uses a rechargeable 3V lithium battery; I’ve seen conflicting sources on the exact type of battery. I’ve read it can either an ML2430, ML2032, or LIR2032. Since my Dreamcast battery seemed to be dead, I decided to do the same mod but with AAA Panasonic Eneloops. They have a minimum capacity of 750mAh which is 7.5x the capacity of the ML2430 mentioned above. It will be interesting to see if the Eneloops stay topped off in the Dreamcast; assuming the Dreamcast uses the ML2430 and charges at a rate of 1C, it would take about 7.5 hours for the Dreamcast to fully charge the Eneloops.

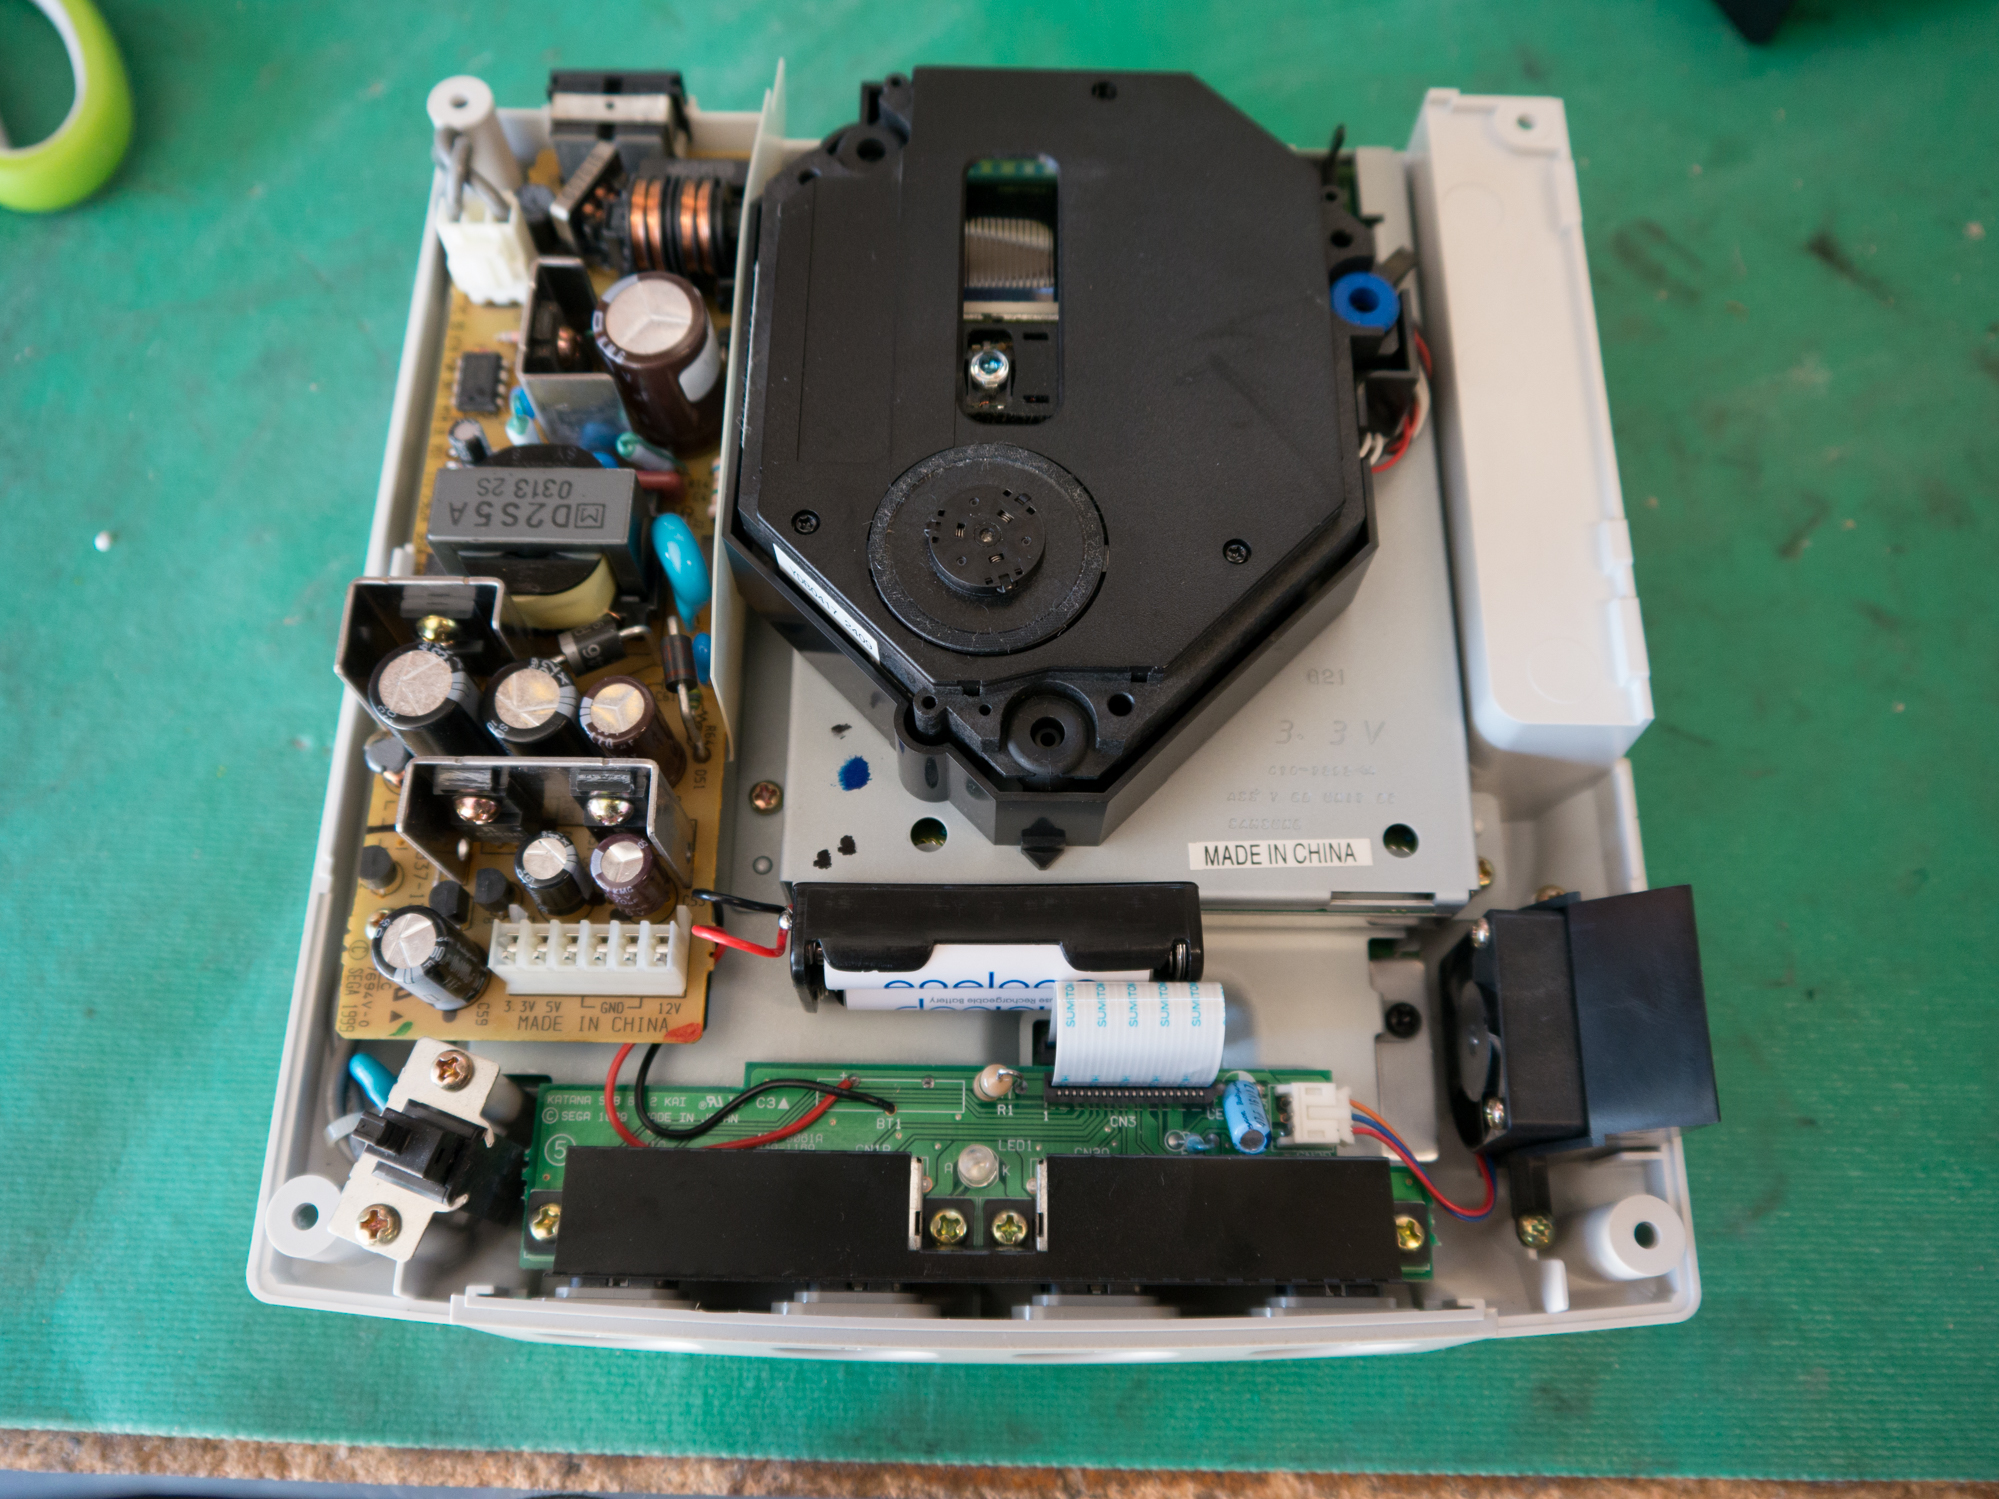
You can see below I used a 2 AAA battery holder instead of taping and soldering them together like in the guide.

P1010461