I’ve discovered a way to protect my WordPress site from brute force attacks thanks to these two guides I found:
DDOS PROTECTION WITH CLOUDFLARE AND FAIL2BAN
WordPress Login Security with Fail2Ban
The best part is these guides do not require installing yet another plugin to WordPress. If your WordPress site does not sit behind Cloudflare, you can just follow the second guide; if you are using Cloudflare however, that guide won’t do anything for you because iptables will only ever see IP addresses from Cloudflare, not your attacker. To make it work with Cloudflare, we need the action filter created in the first guide.
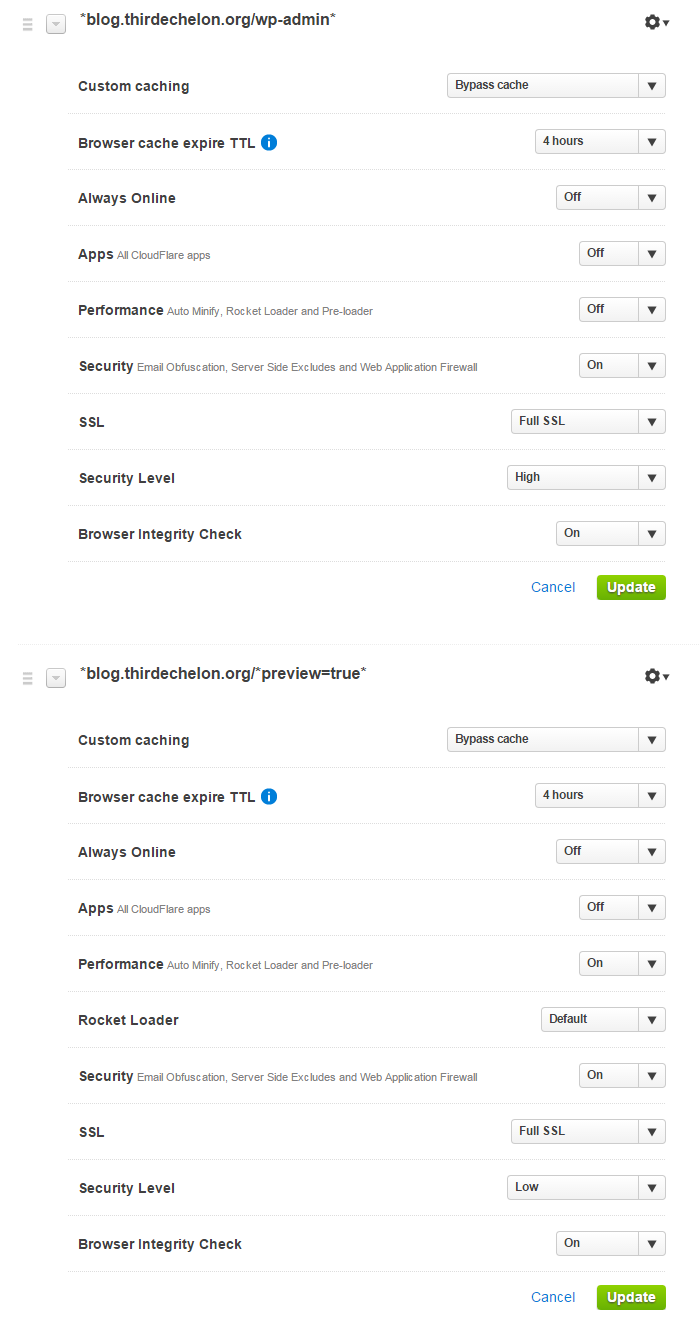
The following steps are a combination of the two guides above and are what I used to configure fail2ban to ban IPs at Cloudflare after failed logins on WordPress; if you haven’t done so already you need to install mod_cloudflare for Apache so it can see the IPs of visitors instead of Cloudflare’s. It’s also a good idea to configure iptables to only allow HTTP/HTTPS traffic from Cloudflare so they can’t bypass it and browse your site directly; the list of Cloudflare IPs is available here as a text file.
First we need to make WordPress log failed authentication attempts; edit the functions.php of your site’s theme and add the following:
|
|
# credit to http://wireflare.com/wordpress-login-security-fail2ban/ const SYSLOG_FACILITY = LOG_LOCAL1; add_action('wp_login_failed', 'log_failed_attempt'); function log_failed_attempt( $username ) { openlog( 'wordpress('.$_SERVER['HTTP_HOST'].')', LOG_NDELAY|LOG_PID, SYSLOG_FACILITY); syslog( LOG_NOTICE, "Wordpress authentication failure for $username from {$_SERVER['REMOTE_ADDR']}" ); } |
Next we need edit /etc/rsyslog.conf and add the following lines under the “Rules” section:
|
|
# credit to http://wireflare.com/wordpress-login-security-fail2ban/ # Save WP invalid login attempts to log for Fail2Ban local1.* /var/log/wp_f2b.log |
Since we’ve added a new log, we should configure logrotate; add the following to the bottom of /etc/logrotate.conf:
|
|
# credit to http://wireflare.com/wordpress-login-security-fail2ban/ /var/log/wp_f2b.log { size 30k create 0600 root root rotate 5 } |
Restart rsyslog with:
Next we create the filter for fail2ban to use; create a new file /etc/fail2ban/filter.d/wordpress.conf with the following contents:
|
|
# Fail2Ban configuration file # # Author: WireFlare # [INCLUDES] before = common.conf [Definition] _daemon = wordpress failregex = ^%(__prefix_line)sWordpress authentication failure for .* from <HOST>$ ignoreregex = |
Now we define the action for fail2ban to use; create a new file /etc/fail2ban/action.d/cloudflare.conf with the contents below. Remember to insert your Cloudflare email address and API Key at the bottom.
1 2 3 4 5 6 7 8 9 10 11 12 13 14 15 16 17 18 19 20 21 22 23 24 25 26 27 28 29 30 31 32 33 34 35 36 37 38 39 40 41 42 43 44 45 46 47 48 49 50 51 52 53 54 55 |
# https://mrphp.com.au/blog/ddos-protection-with-cloudflare-and-fail2ban/ # Author: Mike Rushton # Source: https://github.com/fail2ban/fail2ban/blob/master/config/action.d/cloudflare.conf # Referenced from: http://www.normyee.net/blog/2012/02/02/adding-cloudflare-support-to-fail2ban by NORM YEE # # To get your Cloudflare API key: https://www.cloudflare.com/my-account # [Definition] # Option: actionstart # Notes.: command executed once at the start of Fail2Ban. # Values: CMD # actionstart = # Option: actionstop # Notes.: command executed once at the end of Fail2Ban # Values: CMD # actionstop = # Option: actioncheck # Notes.: command executed once before each actionban command # Values: CMD # actioncheck = # Option: actionban # Notes.: command executed when banning an IP. Take care that the # command is executed with Fail2Ban user rights. # Tags: <ip> IP address # <failures> number of failures # <time> unix timestamp of the ban time # Values: CMD # actionban = curl https://www.cloudflare.com/api_json.html -d 'a=ban' -d 'tkn=<cftoken>' -d 'email=<cfuser>' -d 'key=<ip>' # Option: actionunban # Notes.: command executed when unbanning an IP. Take care that the # command is executed with Fail2Ban user rights. # Tags: <ip> IP address # <failures> number of failures # <time> unix timestamp of the ban time # Values: CMD # actionunban = curl https://www.cloudflare.com/api_json.html -d 'a=nul' -d 'tkn=<cftoken>' -d 'email=<cfuser>' -d 'key=<ip>' [Init] # Default Cloudflare API token cftoken = your-api-key-here # Default Cloudflare username cfuser = me@example.com |
Now that we have the filter and action created for fail2ban we can add the jail to /etc/fail2ban/jail.local:
|
|
[wordpress] enabled = true filter = wordpress action = cloudflare logpath = /var/log/wp_f2b.log maxretry = 3 |
Restart fail2ban and it will watch /var/log/wp_f2b.log for failed WordPress authentication and use the Cloudflare API to ban/unban IPs.