Category Archives: Linux

Nginx Reverse Proxy with Deluge Web UI

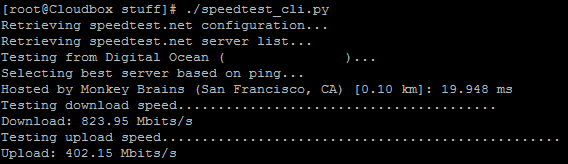
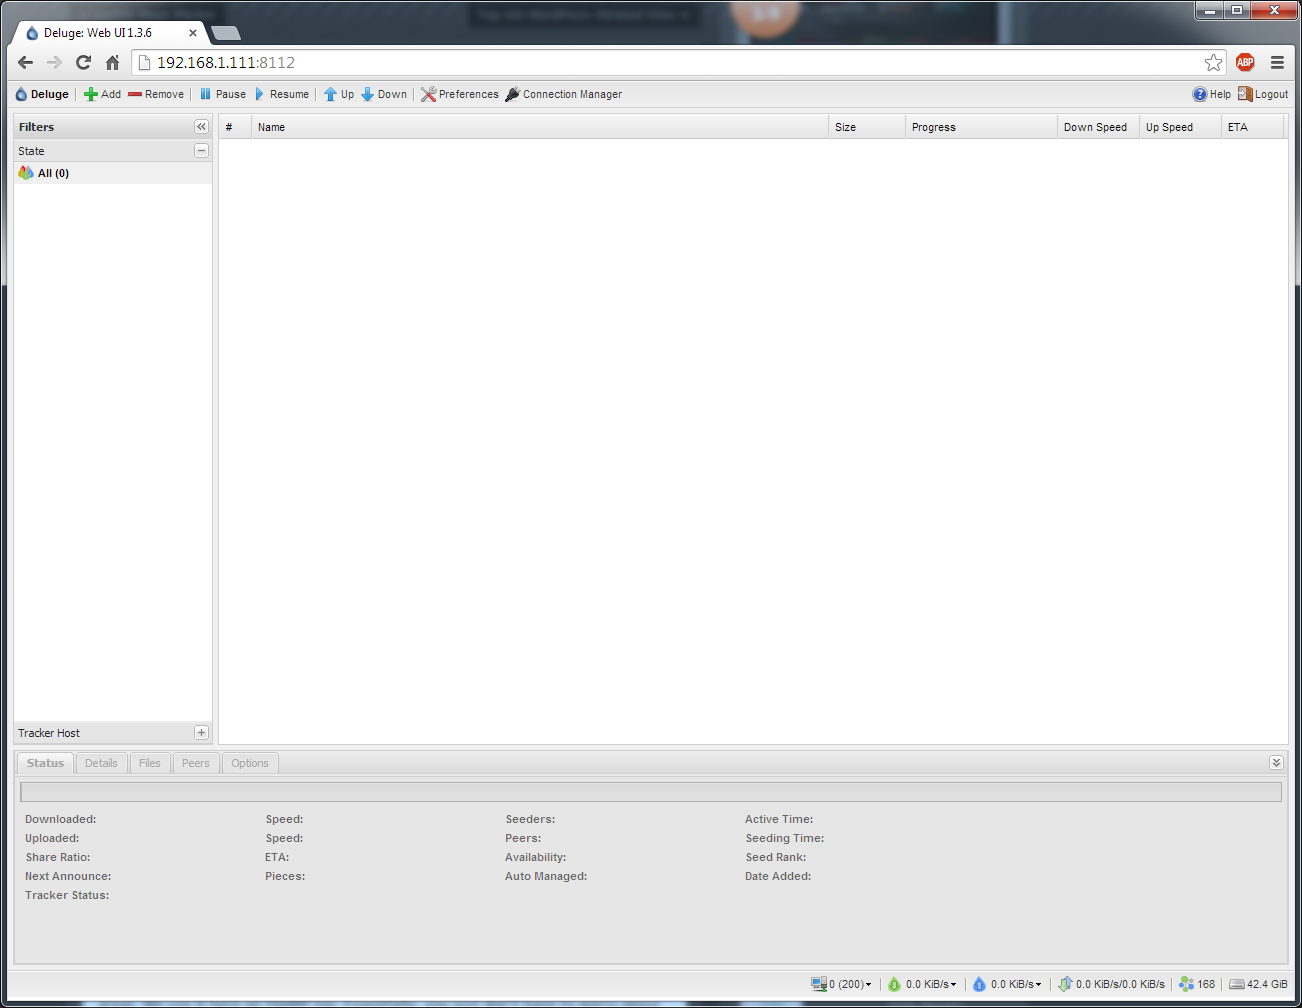
Last year I experimented with using a seedbox for torrenting; I built one using CentOS and Deluge and took a snapshot before I decided to stop using it. Recently I tried deploying it again from the snapshot and found the Deluge Web UI unreachable as Chrome displayed the error message ERR_SSL_VERSION_OR_CIPHER_MISMATCH. It appears in the time since I built it, browsers have stopped supporting SSLv3 due to the POODLE vulnerability. According to this thread, it can be fixed by updating to a newer version of Deluge; however I needed to keep using version 1.3.6 because reasons. Fortunately I was able to configure Nginx as a reverse proxy with SSL enabled for the Deluge Web UI; instead of connecting to the Deluge Web UI directly, I can connect to it through Nginx over HTTPS while the Web UI continues to listen on localhost:8112. Nginx is easy to install and there are many guides on the internet; here’s one for Ubuntu 14.04 and one for CentOS 6.

Below is my configuration for proxying Deluge Web UI through Nginx with SSL enabled; I found the SSL cipher settings on a blog post about hardening SSL ciphers here and the proxy settings on the Deluge Bug Tracker here.


How to Internet Speed Test Your VPS

If you’re using a hosted Linux server for web hosting or cloud services, you might be curious what kind of download/upload speeds your server has. Since many hosted servers are running headless you can’t simply go to www.speedtest.net and get your speed results that way. Fortunately, someone created a Python script called speedtest-cli that can be used from the Linux command line to run a simple test.

Simply download speedtest-cli to directory of your choice and run it:

Without any parameters, the script will automatically find the best server and run a test:

You can also specify the –share parameter to generate a URL for sharing the results image:

speedtest-cli-share

You can see the rest of the parameters by running speedtest-cli -h:

Mumble – Low Latency, High Quality Voice Chat

My friends and I originally used Ventrilo for our voice communications during long sessions of WoW raiding and other games; along the way we eventually started using Skype as it didn’t require a server and we didn’t have to push a button to talk. Somehow I stumbled upon this video demonstrating the latency differences between Mumble and Ventrilo and immediately decided that we should be using Mumble for voice chat.

There seems to be plenty of sites you can order Mumble servers from but I decided it would be a good learning experience to build my own from the ground up. I spun up a new CentOS droplet at DigitalOcean and followed the instructions at a blog I found. If you use this guide, you’ll find your mumble.ini configuration file under /opt/mumble-server – the Mumble Wiki has the details on each parameter but Mumble will just work out of the box without doing anything further. Additionally, if you want to use a real SSL cert with Mumble like I did, you can use this guide from the Mumble Wiki.

HPN-SSH on CentOS

Somewhere along learning how to build my own blog and LAMP stack, I stumbled across HPN-SSH – a project to improve network performance in SCP file transfers.You can read more about it here.

This is how you can install it:

Install required software for compiling and patching OpenSSH/HPN-SSH:

Download latest versions of OpenSSH portable and HPN-SSH patch into /usr/src:

Extract OpenSSH:

Change directory in extracted folder and apply patch:

Configure OpenSSH:

Remove old config files to prevent any conflicts:

Compile and install:

Now we have the newest version of OpenSSH installed and patched with the improvements from HPN-SSH; however we still need to make some changes to the /etc/ssh/sshd_config to take advantage of them. Near the bottom of your config file you will see a section for HPN related options; I used the following options from other guides I found:

Another important thing to note is that the new sshd config file will reset some of your options like PermitRootLogin so be sure to check those. On my system the SyslogFacility option was commented out so the ssh related messages were logged to /var/log/messages instead of /var/log/secure; this subsequently broke my fail2ban setup since fail2ban was looking for failed authentications in /var/log/secure. To fix this I had to change the SyslogFacility option to:

Don’t forget to restart sshd when you’re finished:

Remove /home Partition on CentOS

During my experiments with building a seedbox, I noticed that CentOS created a separate partition for the /home directory. Since I was building a seedbox at a cloud provider, I wanted the entire disk as a single partition for large torrent downloads.

Below is an example layout on a default install of CentOS 6.5:

The following commands will remove the /home partition and resize the root one:

Running df-h again will show that we have a single partition for /:

Now we still need to edit /ect/fstab to prevent CentOS from trying to mount a non-existent partition on start up. Delete the line that corresponds to the old /home partition; in my example its line 10:

Deluge 1.3.6 Seedbox on CentOS 6.5

I’ve recently been experimenting with using a seedbox; I built one using CentOS 6.5 and Deluge. The original guide I followed used a repo that only had Deluge 1.3.5 and later through some googling I found a repo for installing 1.3.6.

First add the repo for Deluge 1.3.6:

Add the following lines:

I also needed the repo for the geoip package which is required for deluge; my CentOS install at home needed it but a CentOS cloud server I tried didn’t:

Now we can install geoip and deluge:

Create a user to run deluge:

Set deluge daemon and webui to start automatically:

Add the following lines:

Now deluge will automatically start and run under seedbox user. Don’t forget to add rules to iptables for port 8112 which is the default port for the deluge webui.

deluge_webui

Iptables and Fail2ban Duplicate Rules

For a while I always wondered why fail2ban sometimes put in the same rule twice under iptables:

It turns out that when fail2ban service starts, it inserts the fail2ban-ssh rule at the top of your iptables rules; so if you did save of your iptable rules with the fail2ban-ssh rule already inserted, iptables loads its default rules (with fail2ban-ssh in it) and then fail2ban adds it again when it starts.

To fix this, I deleted the fail2ban-ssh rules from iptables and saved those rules; now when my server boots iptables loads without the fail2ban-ssh rule and fail2ban adds it when it starts.