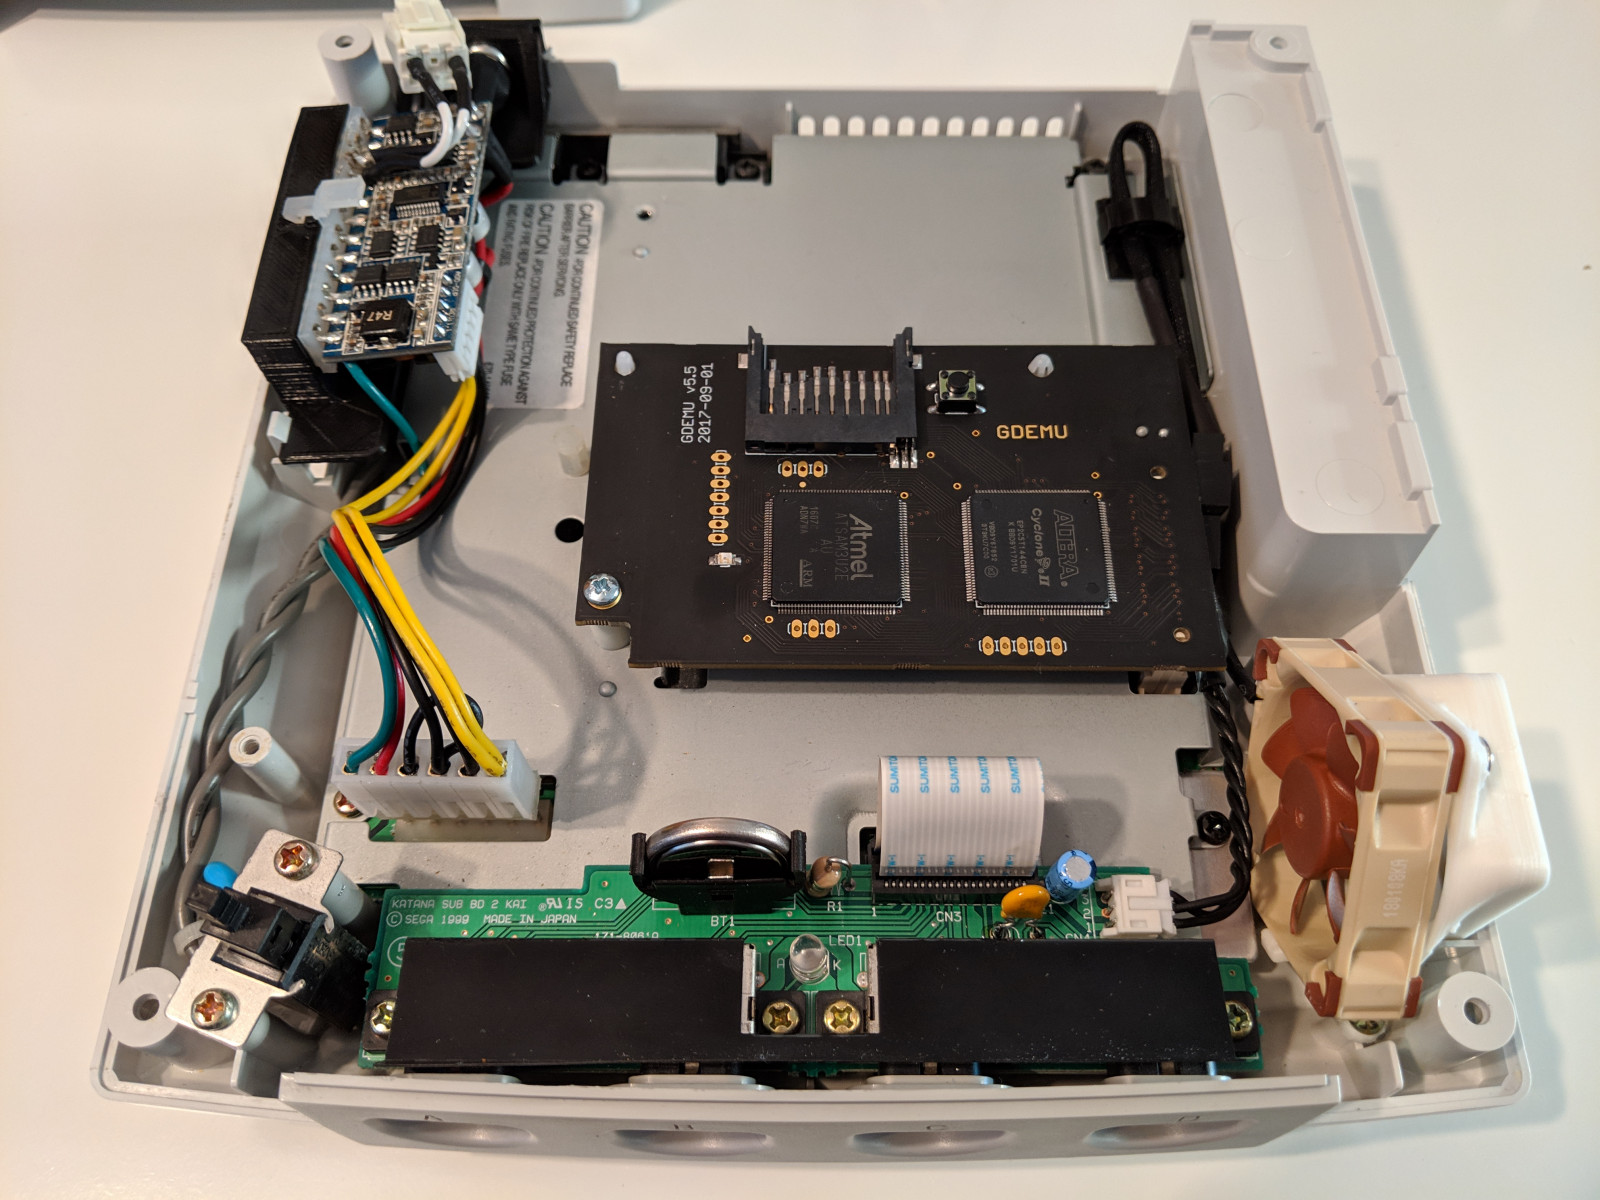
Last summer I modded my Dreamcast with a GDEMU and Noctua fan; I decided it was a good time to throw in a few more mods: a new power supply, battery holder, controller fuse and a 3D printed insert for the GDEMU.
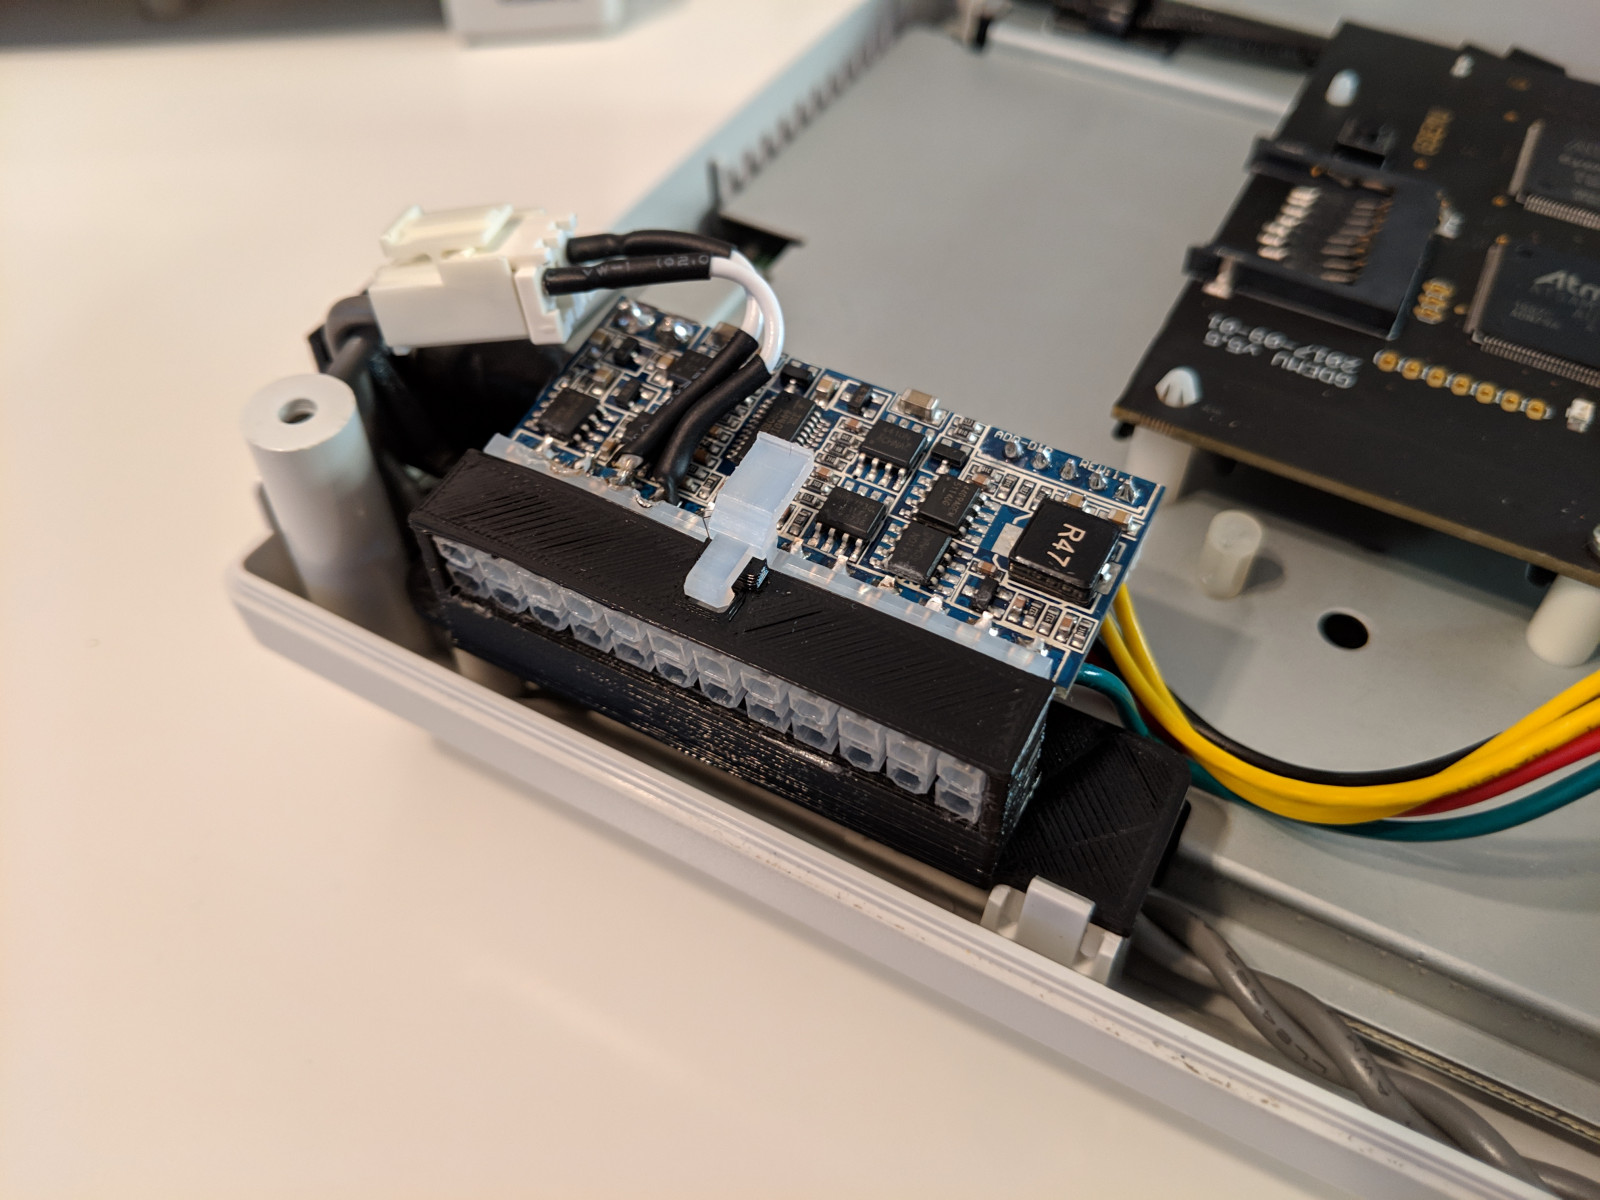
Replacing the original power supply is generally recommended when you remove the optical drive to install the GDEMU or USB-GDROM; supposedly the power supply runs hotter because the 12 V rail is no longer loaded by the optical drive. There are a few ways to go about replacing the Dreamcast power supply:
- There was an Indiegogo campaign a while back that resulted in DreamPSU, a direct drop-in replacement:
https://www.retropsu.com/store/product/dreampsu/ - More common is the modding of a picoPSU to work in the Dreamcast:
https://www.retrosales.com.au/products/accessory-power-supply-sega-saturn-dreamcast-replacement-modified-psu-retrofit-modding - Recently someone designed a board that allows direct plug-n-play of a picoPSU into the Dreamcast:
https://github.com/chriz2600/PicoDreamcast
I found an eBay seller offering pre-modded picoPSUs for the Dreamcast; they even include a 3D printed bracket to secure the unit in the same place as the original power supply. I went with this option since it was the most complete solution and required the least amount of work.
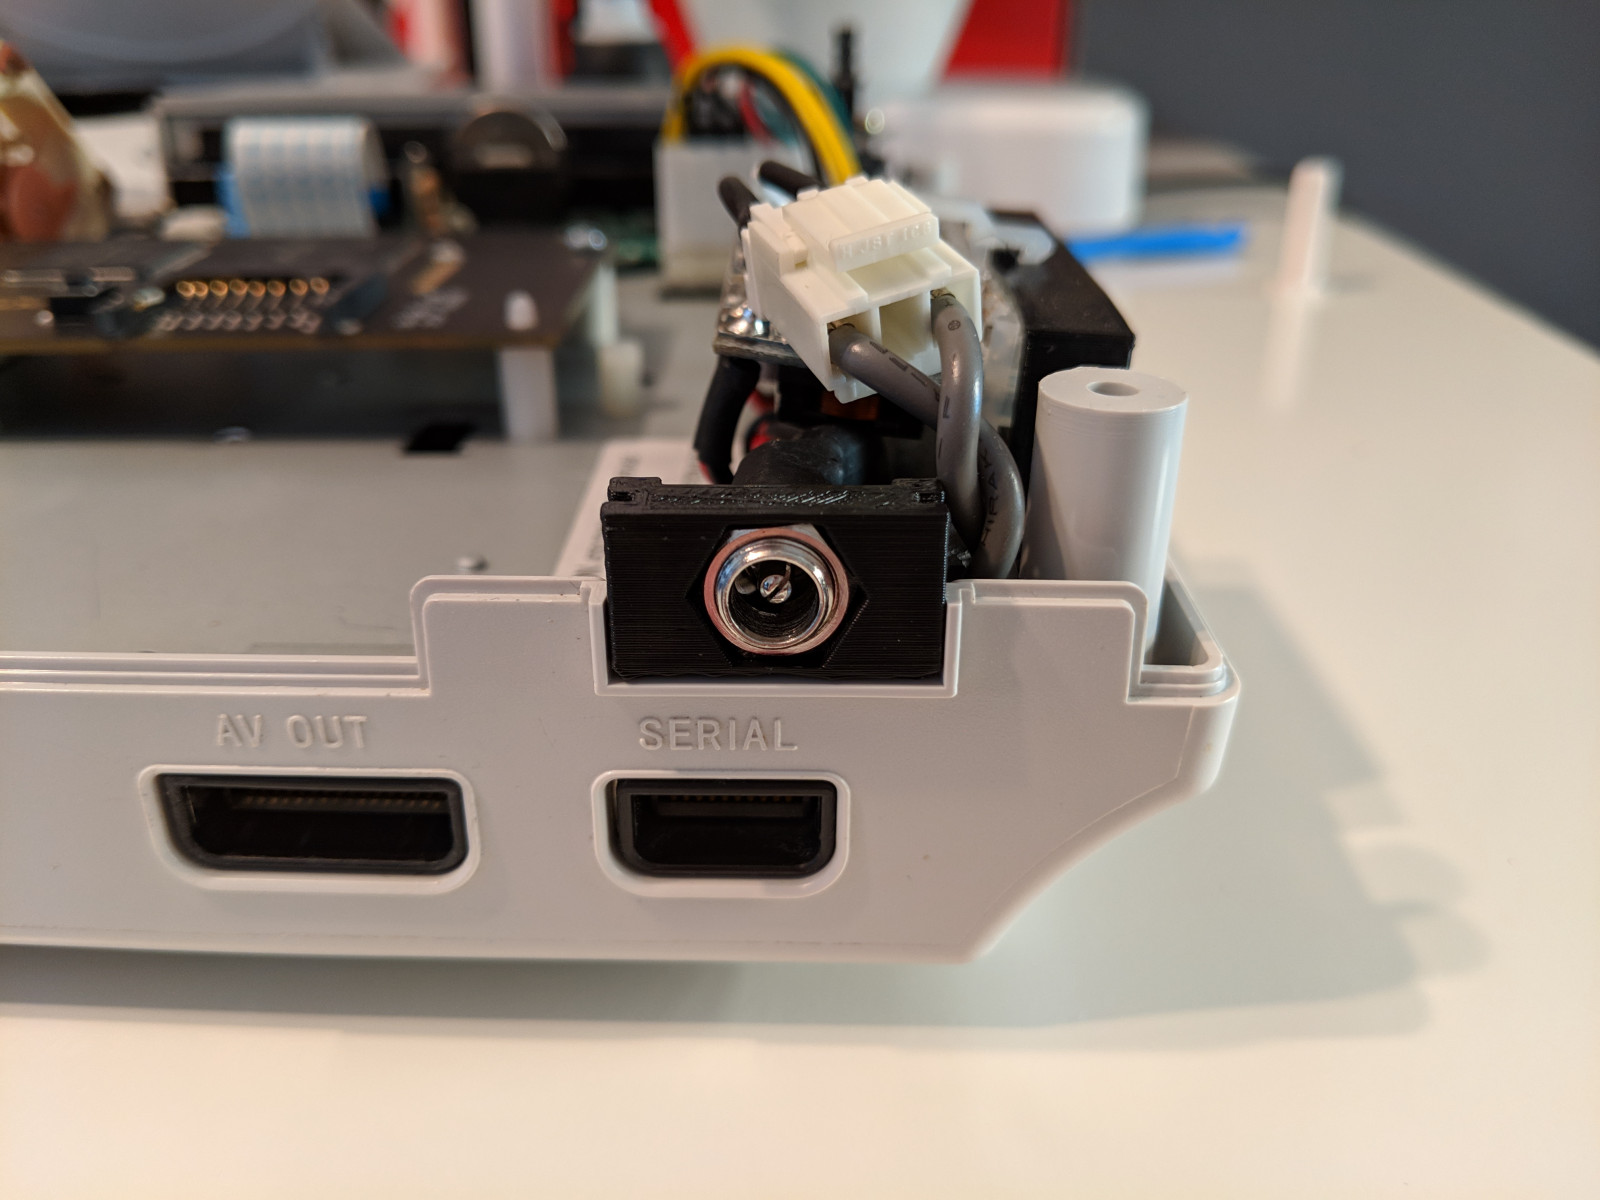
A 12 V DC power adapter is also needed to drive the picoPSU. Most recommendations are for one that can output 2 A to 5 A; you can find tons of generic wall warts and power bricks that meet this criteria on Amazon and eBay. I wanted the best one so it was hard deciding which of these generic power adapters to buy. Luckily I found a Seasonic power adapter that works perfectly for the Dreamcast picoPSU mod: the Seasonic SSA-0601HE-12. It’s rated for 12 V 5 A and has the correct barrel connector for the picoPSU (2.5mm, center positive). Seasonic is known as one of the best PC power supply manufacturers; based on Seasonic’s reputation alone, I’m going to say that this is the best power adapter for the Dreamcast picoPSU mod.
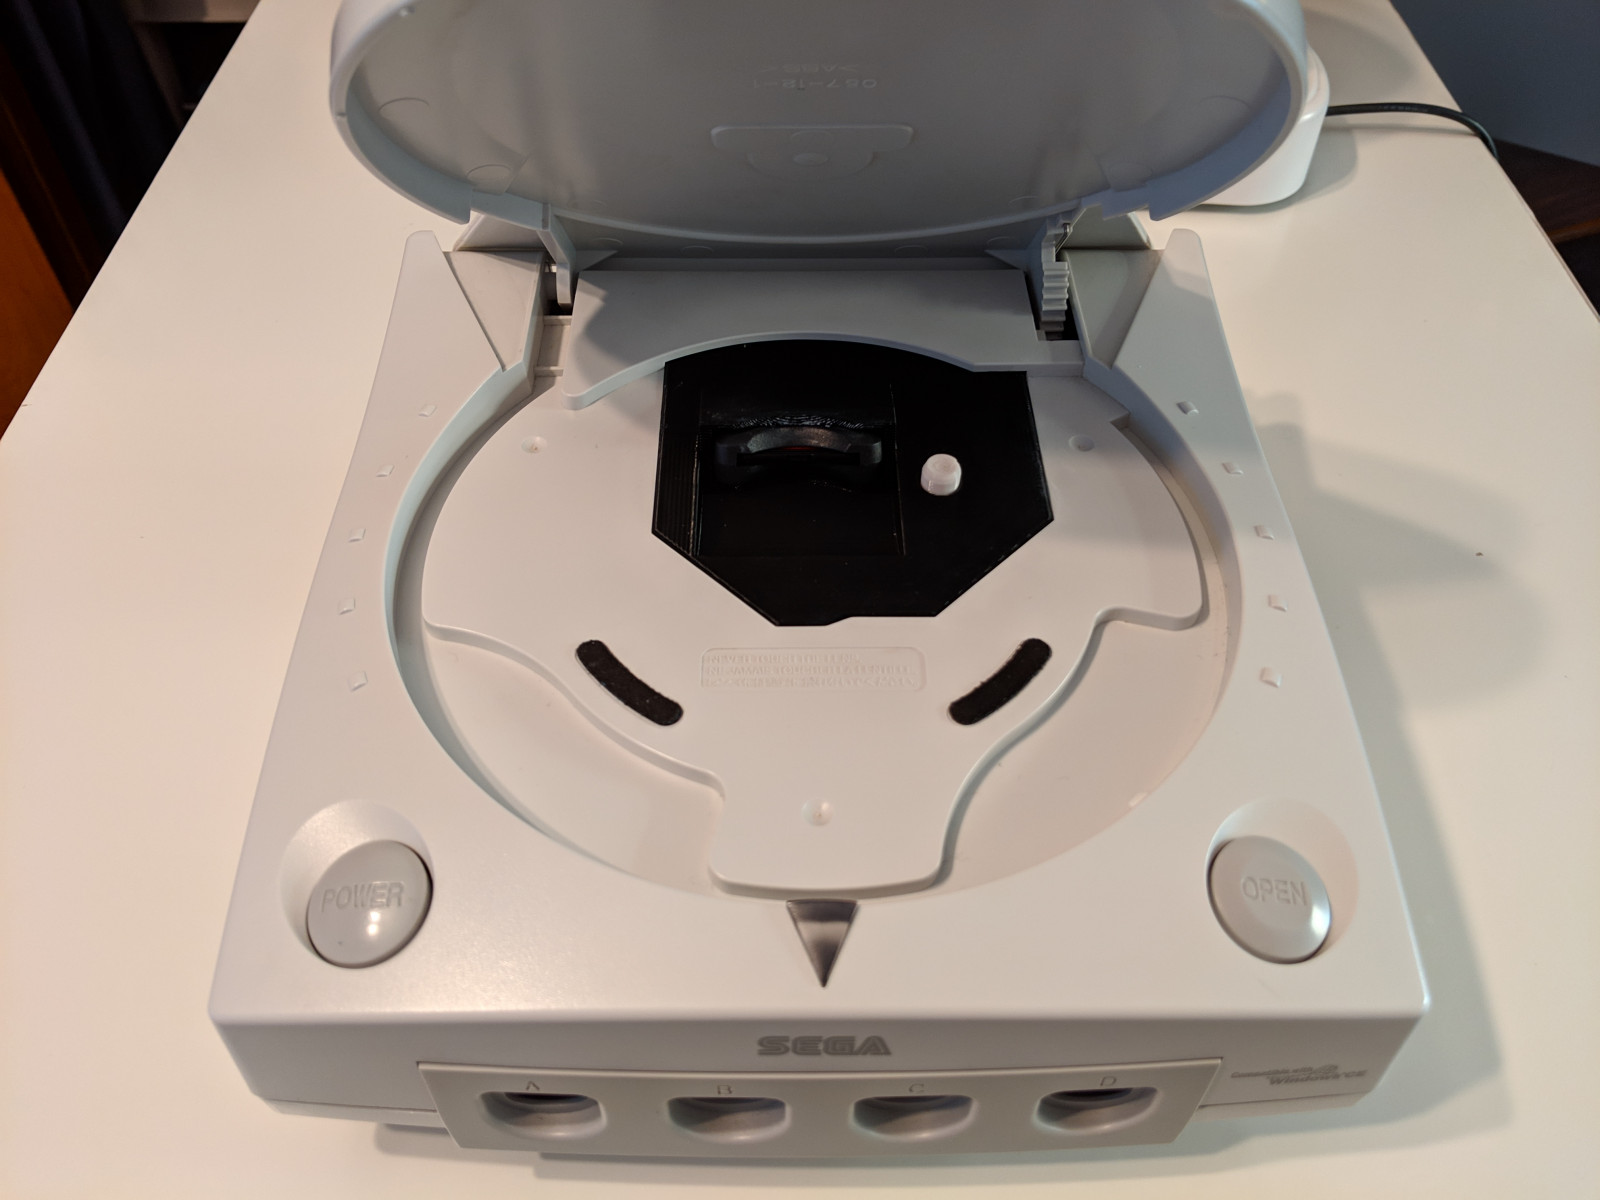
Installing a GDEMU leaves a lot of empty space in the drive tray and SD cards can drop out of reach during swaps. I bought a 3D printed insert that fills the void and came with an SD card extender; the insert gives the Dreamcast a nicer look and makes it easier to swap SD cards. The insert can be purchased from this eBay seller.
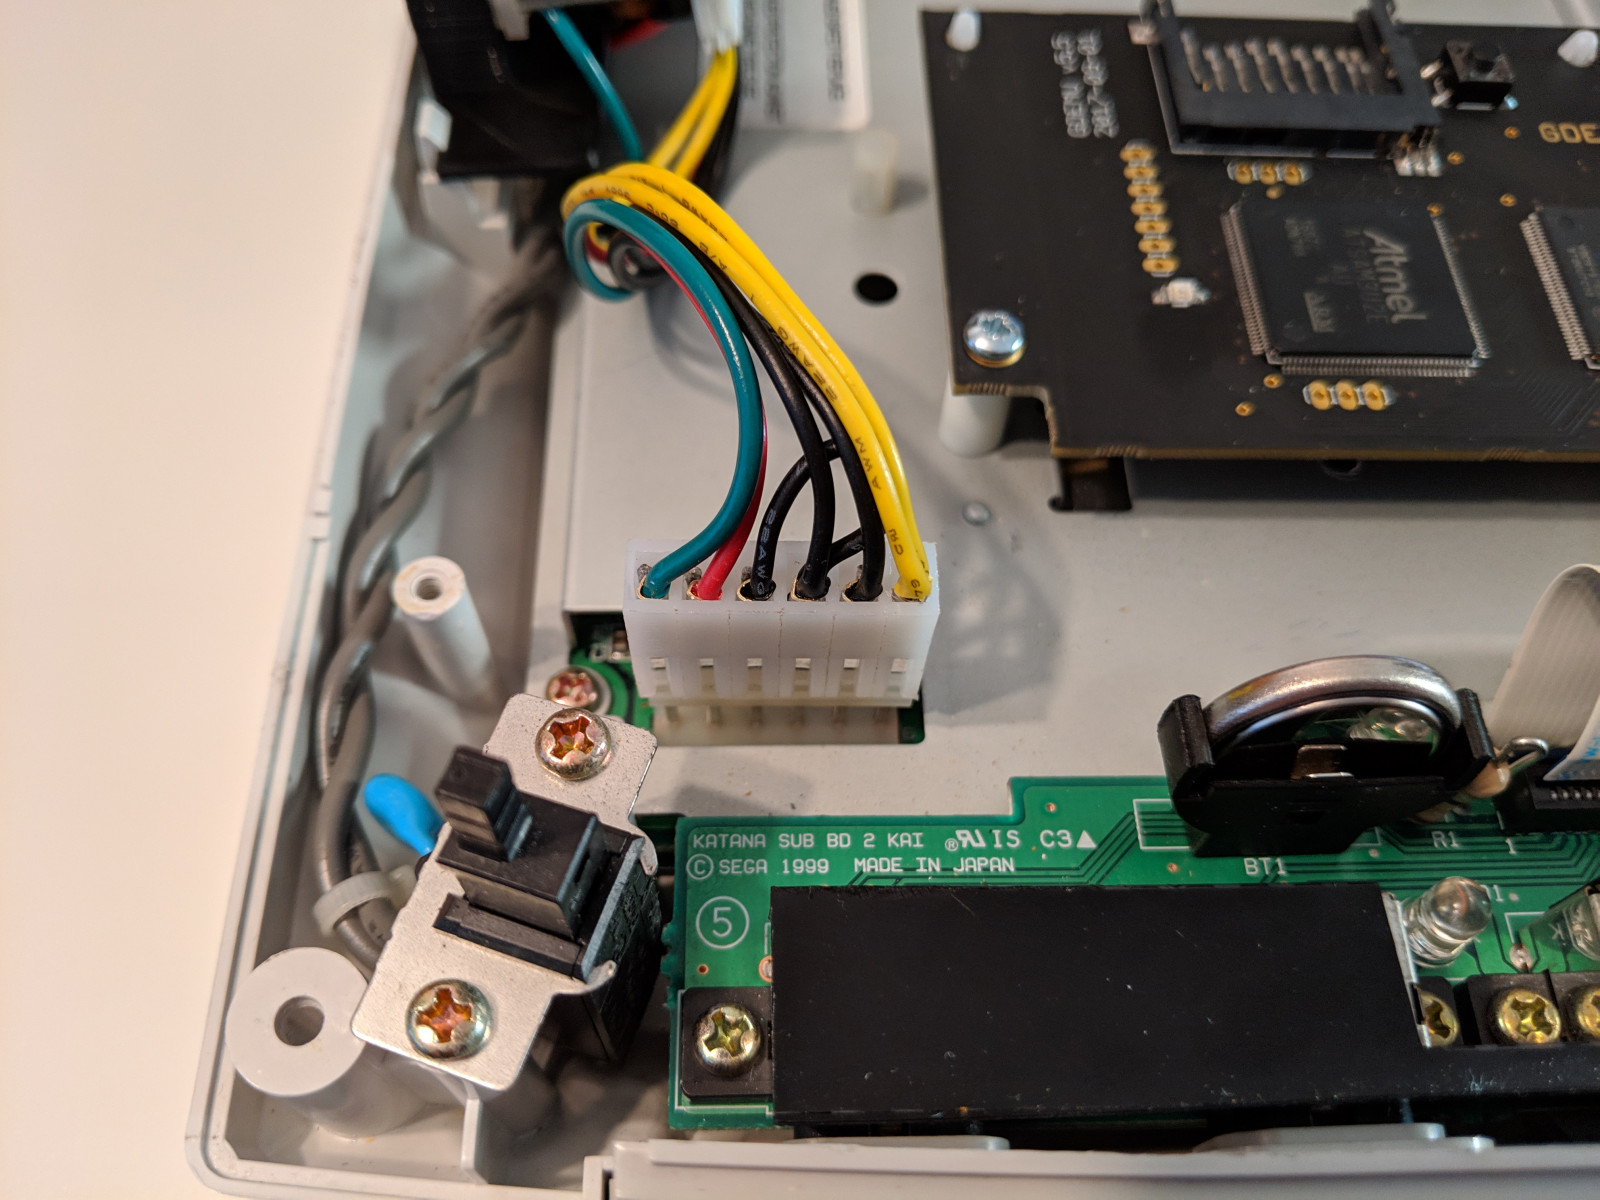
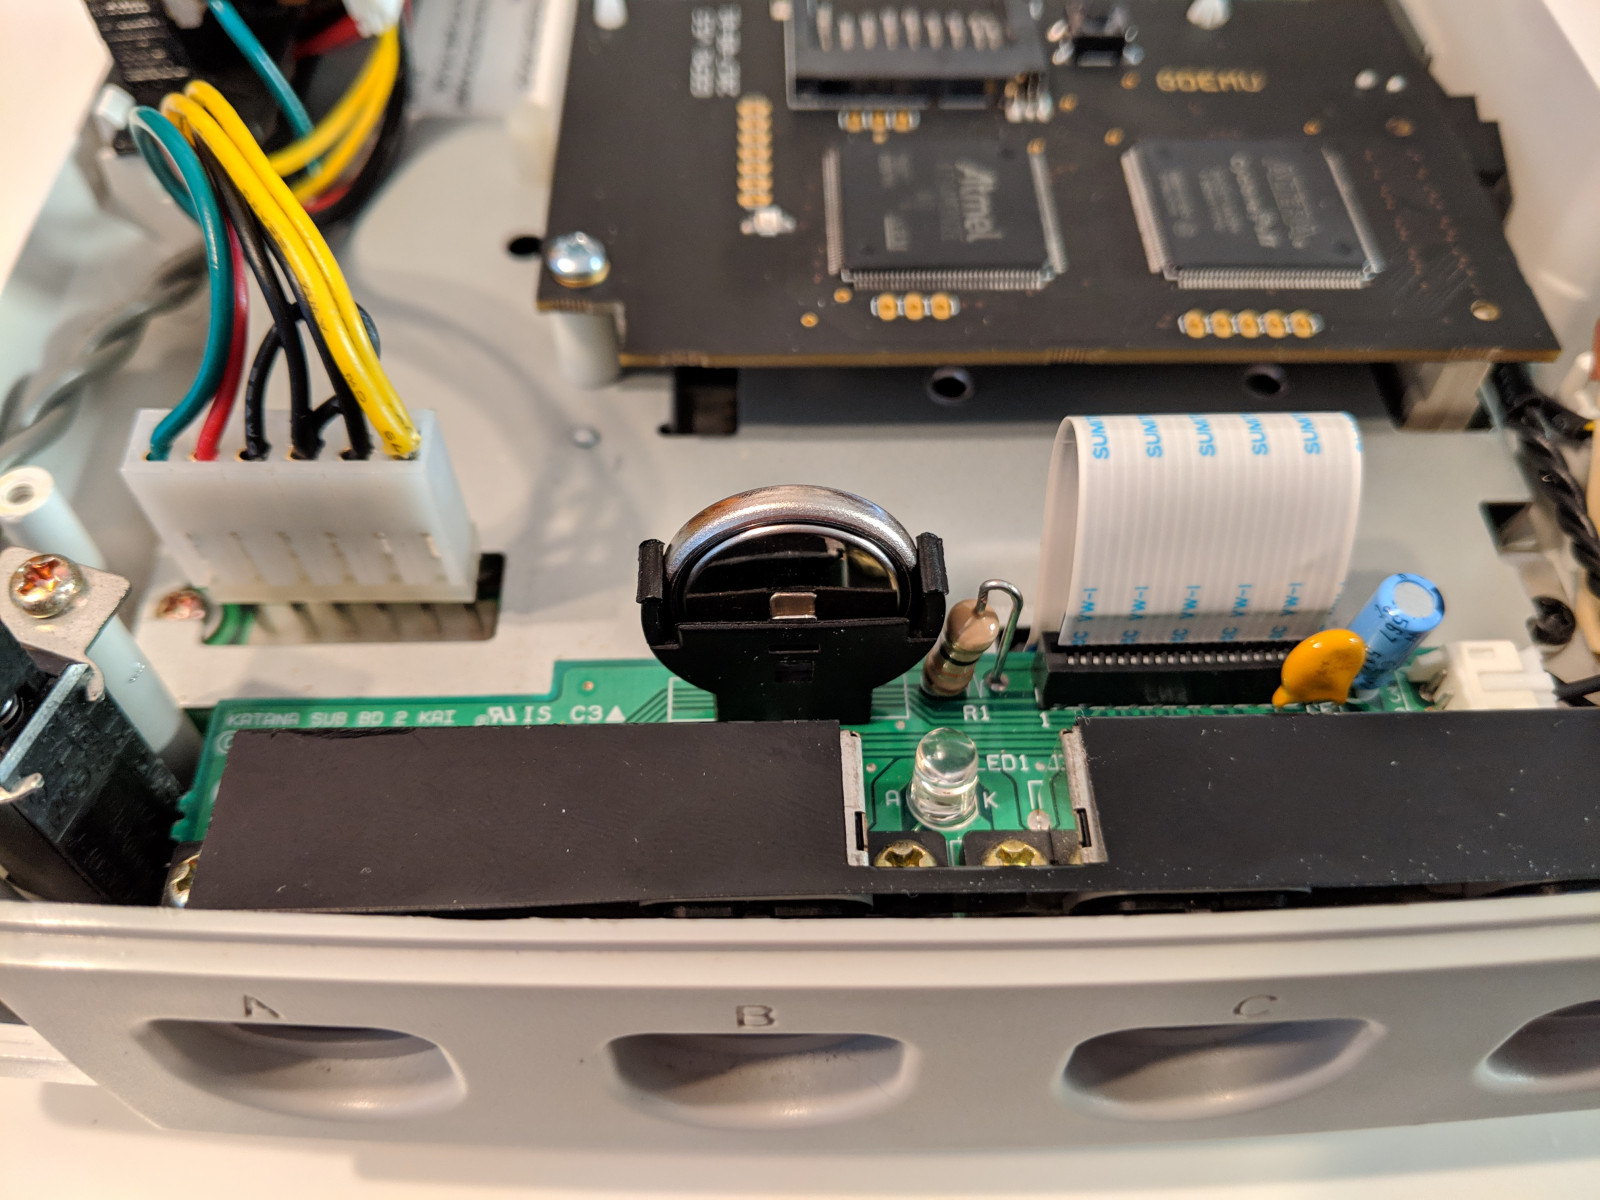
Years ago I modded my Dreamcast to use eneloop batteries instead of the built-in rechargeable battery. It works but doesn’t seem to last as long as you would think despite the capacity being several times greater. I removed the eneloops and installed a button cell battery holder and ML2032 battery for a cleaner look. I ordered the holder from Amazon and the battery from eBay but you can also find them bundled together on eBay like this.
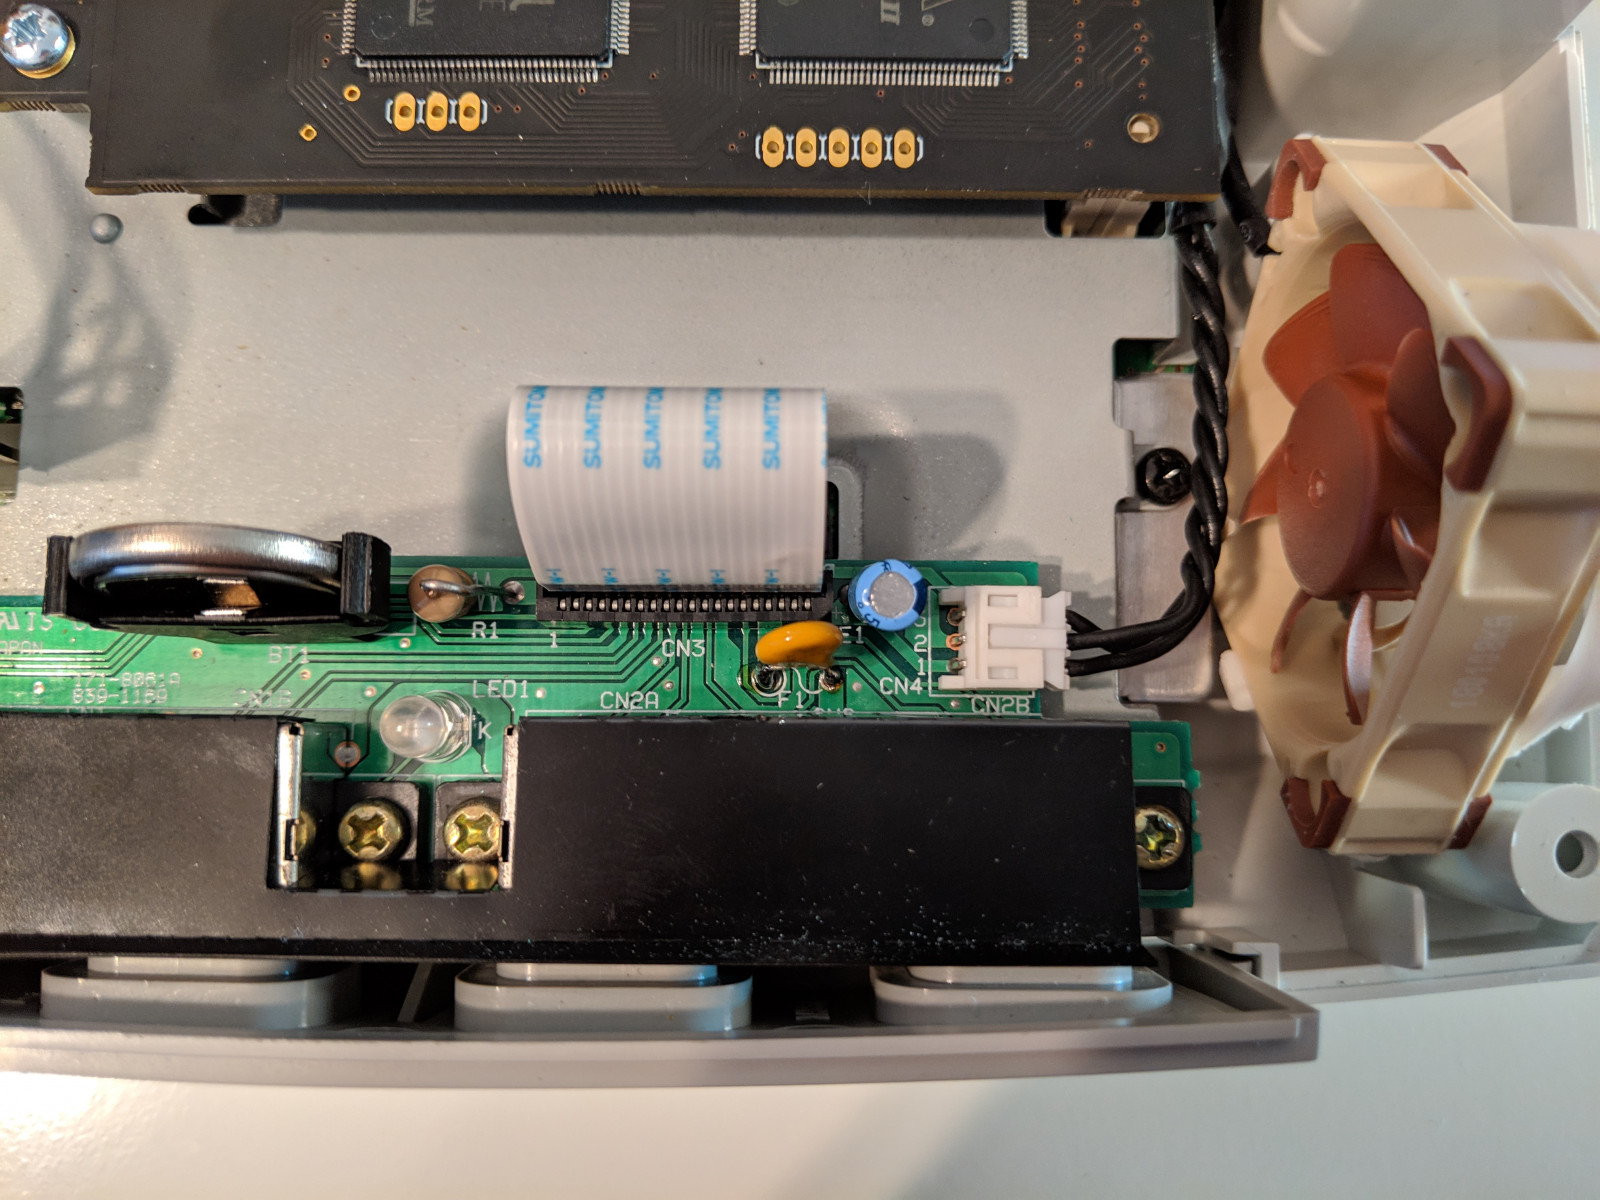
The Dreamcast suffers from a common issue where controllers stop working because of a blown fuse although mine has never had this problem. I replaced it anyway with a PolySwitch 72V 400mA fuse from Amazon. This fuse can be reset by turning the Dreamcast off and on again. It’s a simple mod to perform; just swap the old fuse (labeled as F1) on the controller board with the PolySwitch. You can find a detailed guide on this mod here.
This is now the coolest Dreamcast I own; the only thing it’s missing is a DCHDMI. Fortunately I’ve already got a VGA box and OSSC.

